[title]
[message]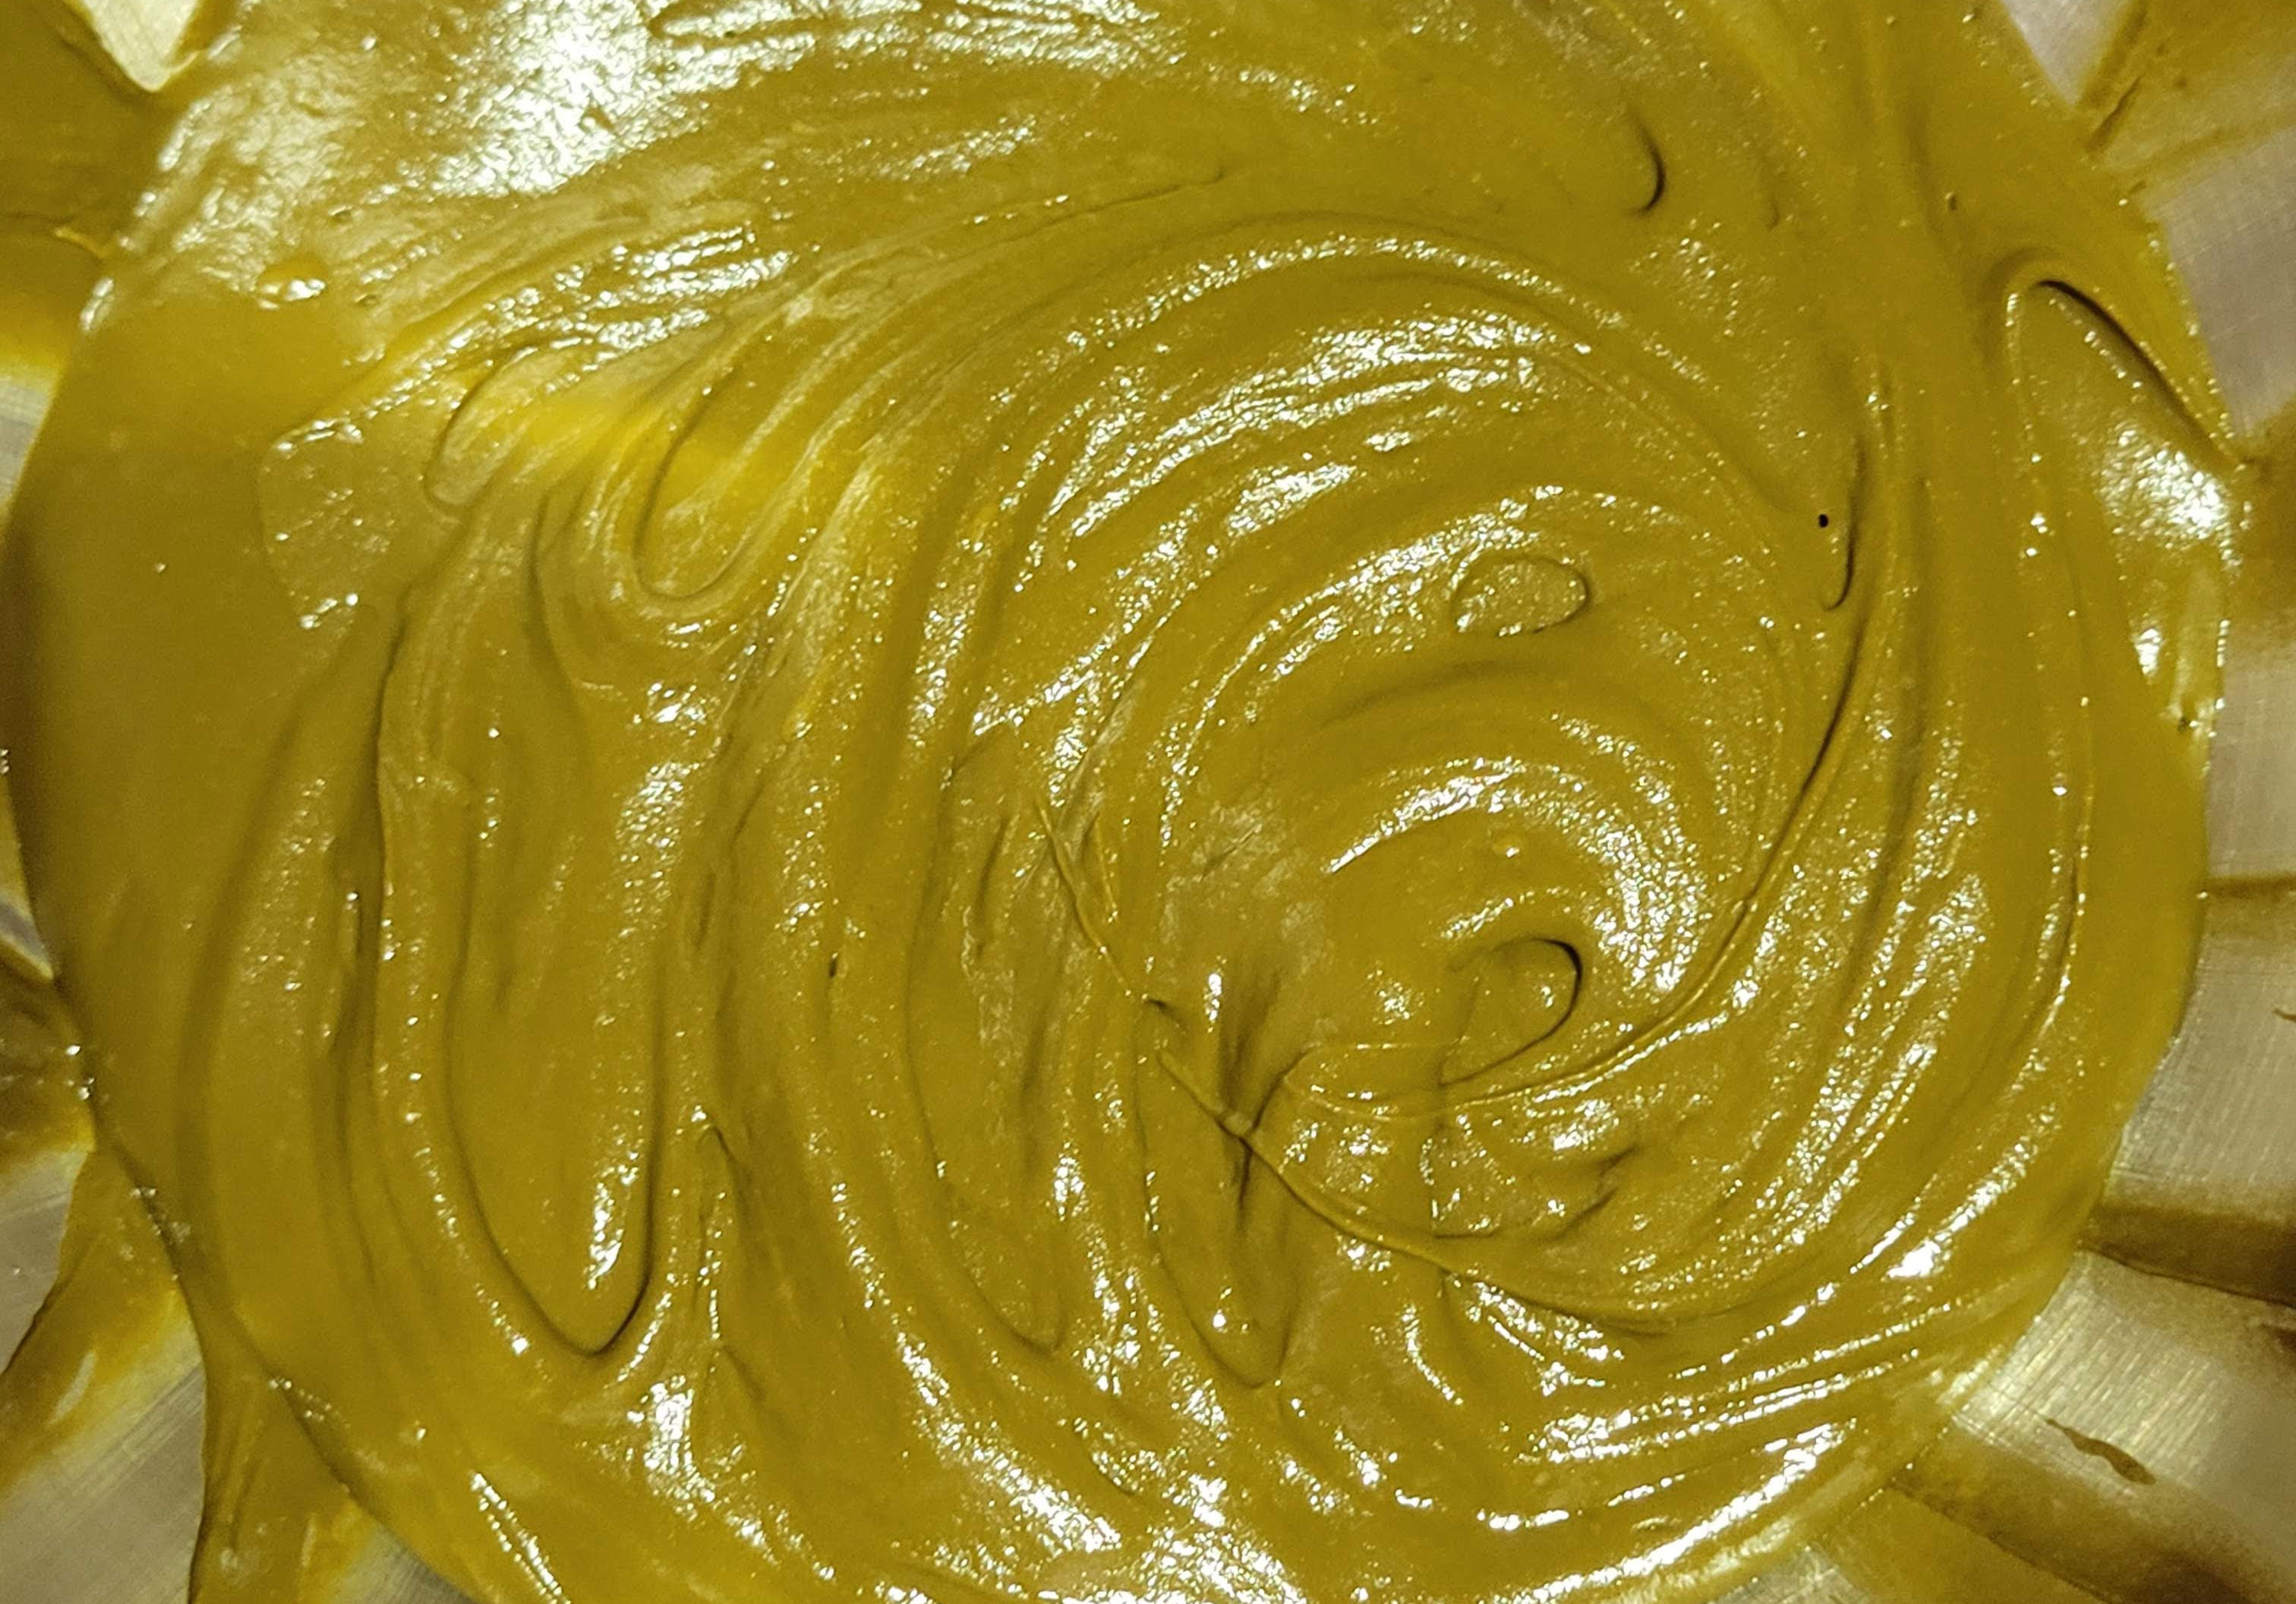
How to Mix Henna Paste
Easy step-by-step instructions to mix great staining henna paste for the skin. Don't miss the Mini-mix video!
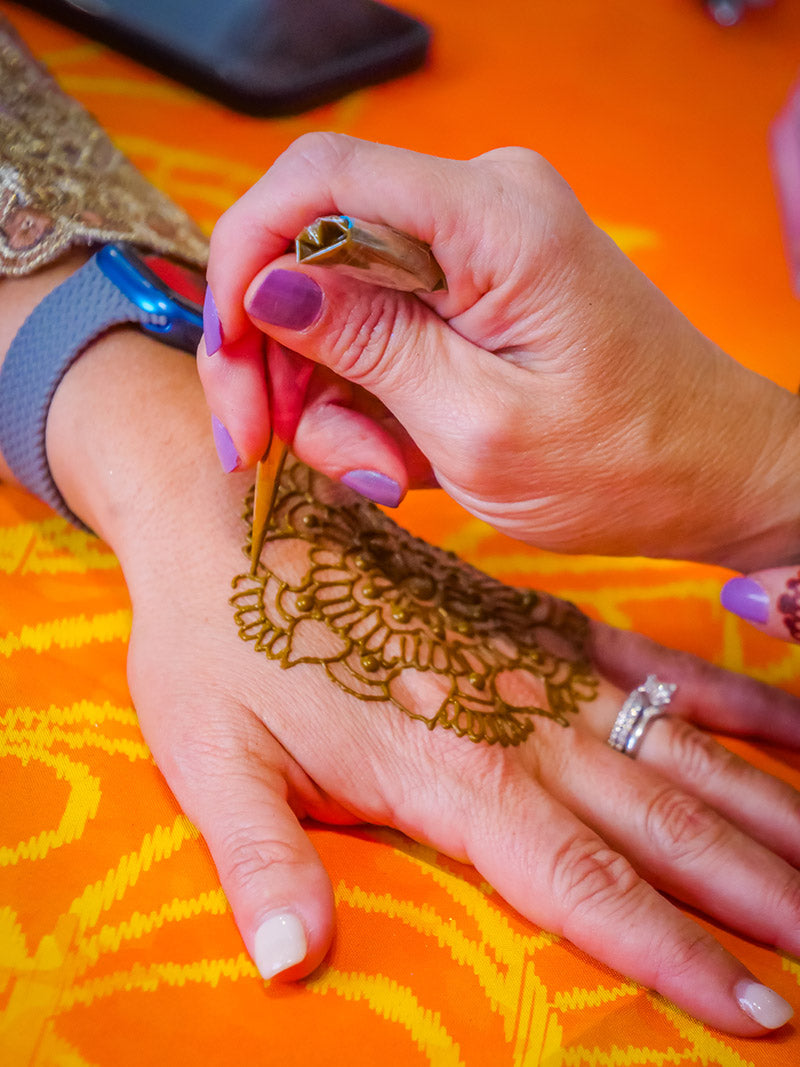
Learn to Mix Henna
Learn how to create your own henna paste for beautiful stains and effortlessly manageable paste! With just one hundred grams of henna powder, you can create anywhere from 75 to 200 henna tattoos, depending on the size of the designs.
Practice Makes Progress
Henna is like cooking. It can take some time to get it perfect, yet you still get to have some fun getting to your perfect henna mix. Relax and have fun with your henna!
In order to create the best possible henna mix for you, it helps to understand why you add the specific ingredients in henna paste, so let’s start there!
What Makes Great Henna Paste?
-
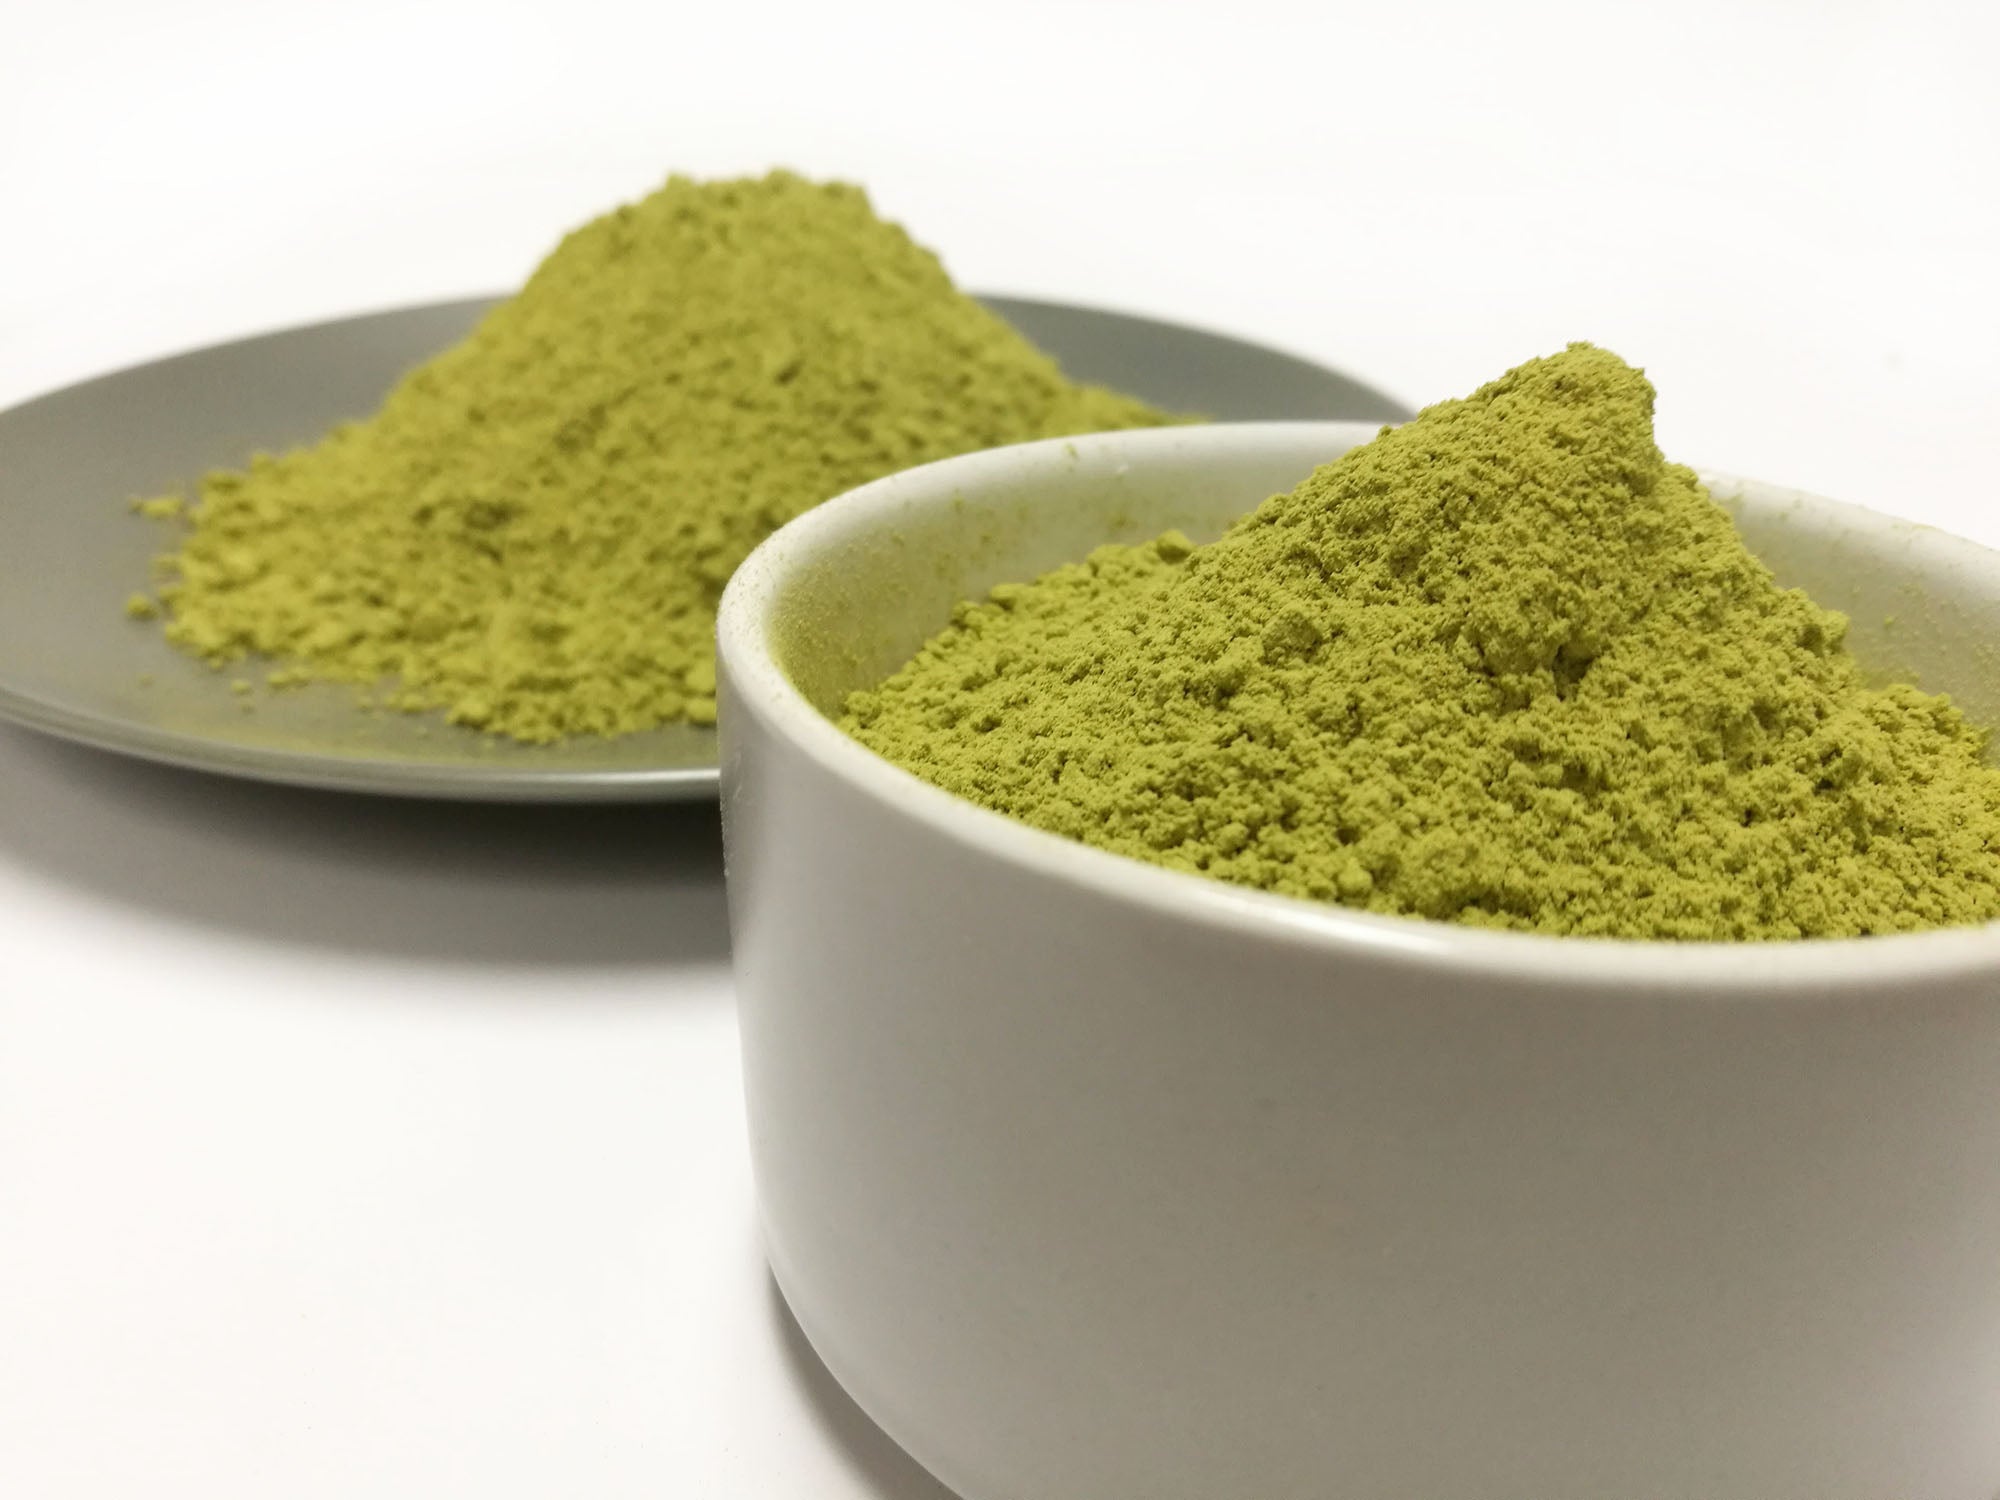
Quality Henna Powder
Buy Henna Powder HereTo ensure safe use on the skin, always opt for fresh, high-quality body art quality henna (BAQ). Don't use hair henna or random henna powder from grocery stores, as they may contain metallic salts or chemicals. Our henna is meticulously sourced and stored, guaranteeing freshness and safety.
-
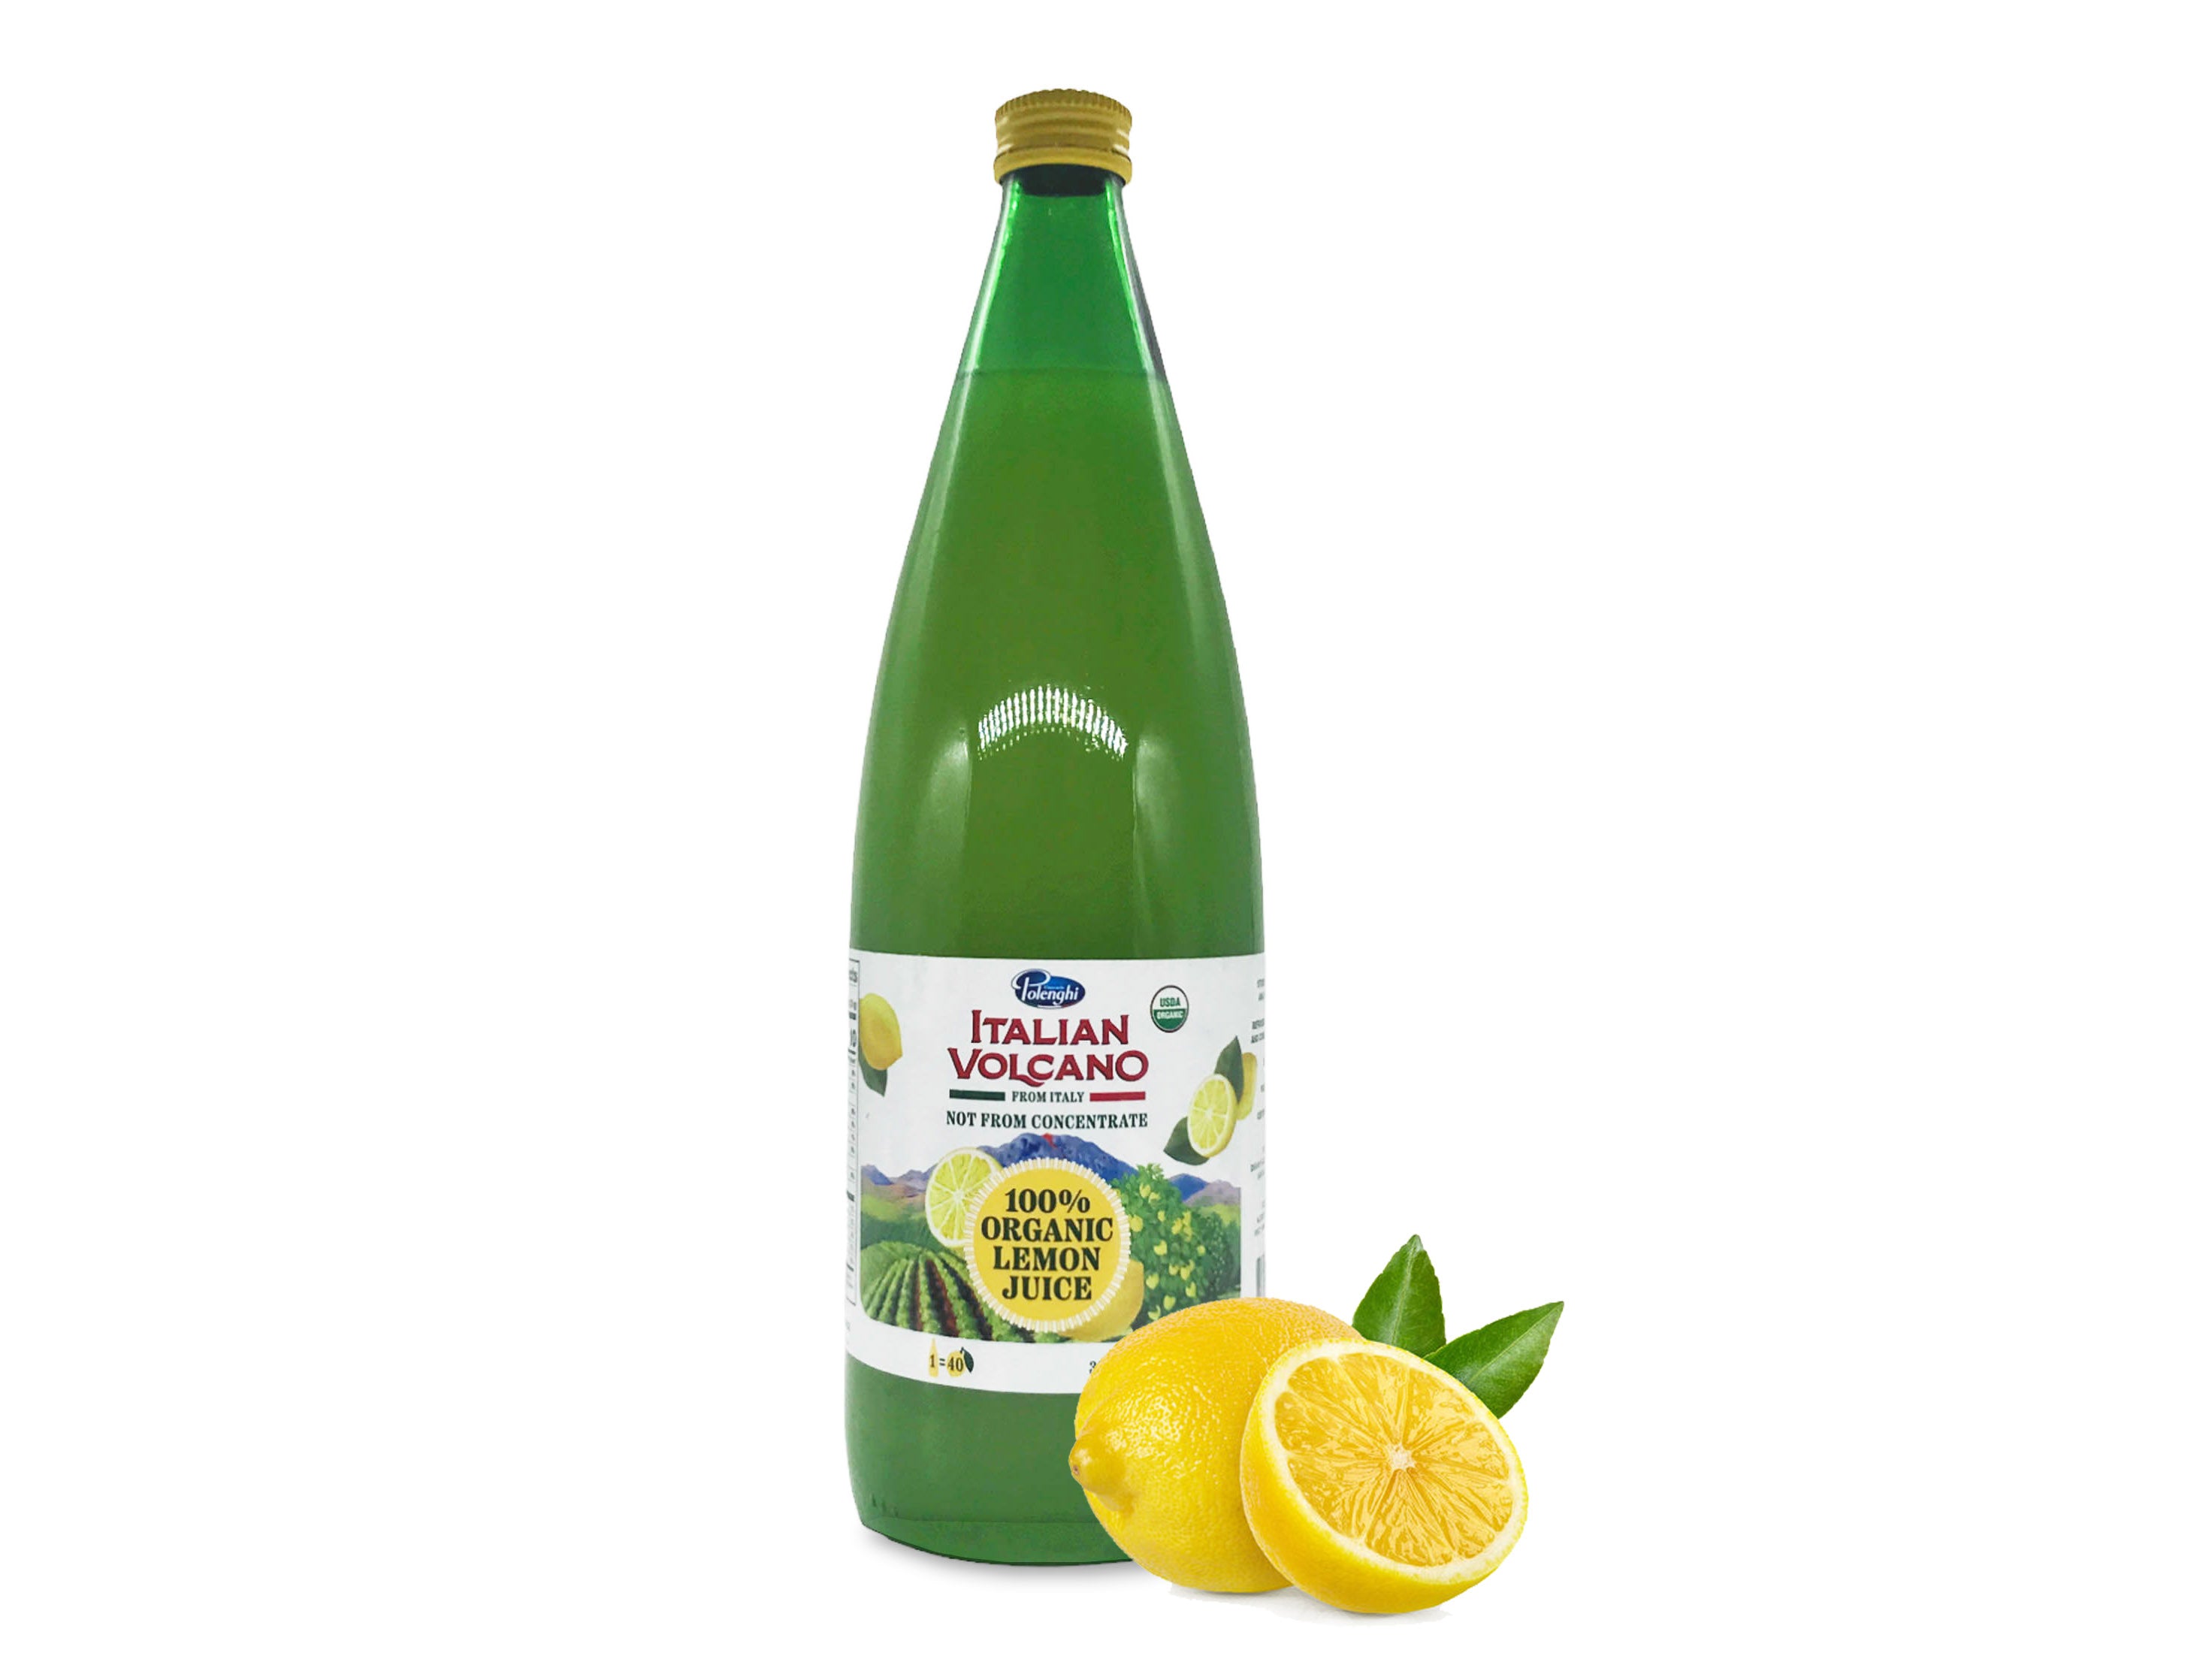
Lemon Juice (bottled is fine)
Lemon juice serves as the ideal liquid base for your henna paste. Its acidity creates a gradual release of the dye molecules from the henna, resulting in a stable paste that doesn't fade quickly. Water or tea can be used, but they accelerate dye release, potentially compromising paste stability.
-
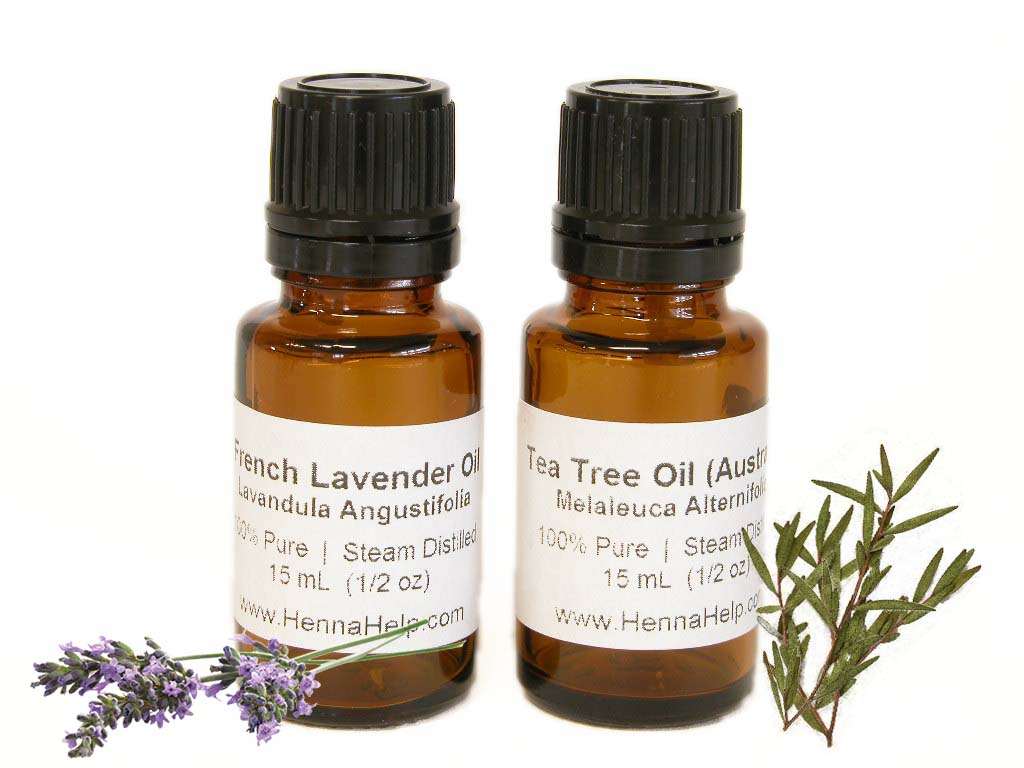
Lavender & Tea Tree Essential Oils
Buy Quality Oils HereThese oils, rich in monoterpene alcohols, aid in maximizing the release of lawsone dye from henna, resulting in deeper stains. They add a lovely scent and help preserve the henna paste. Exercise caution with essential oils. More detailed info on EOs is below.
-
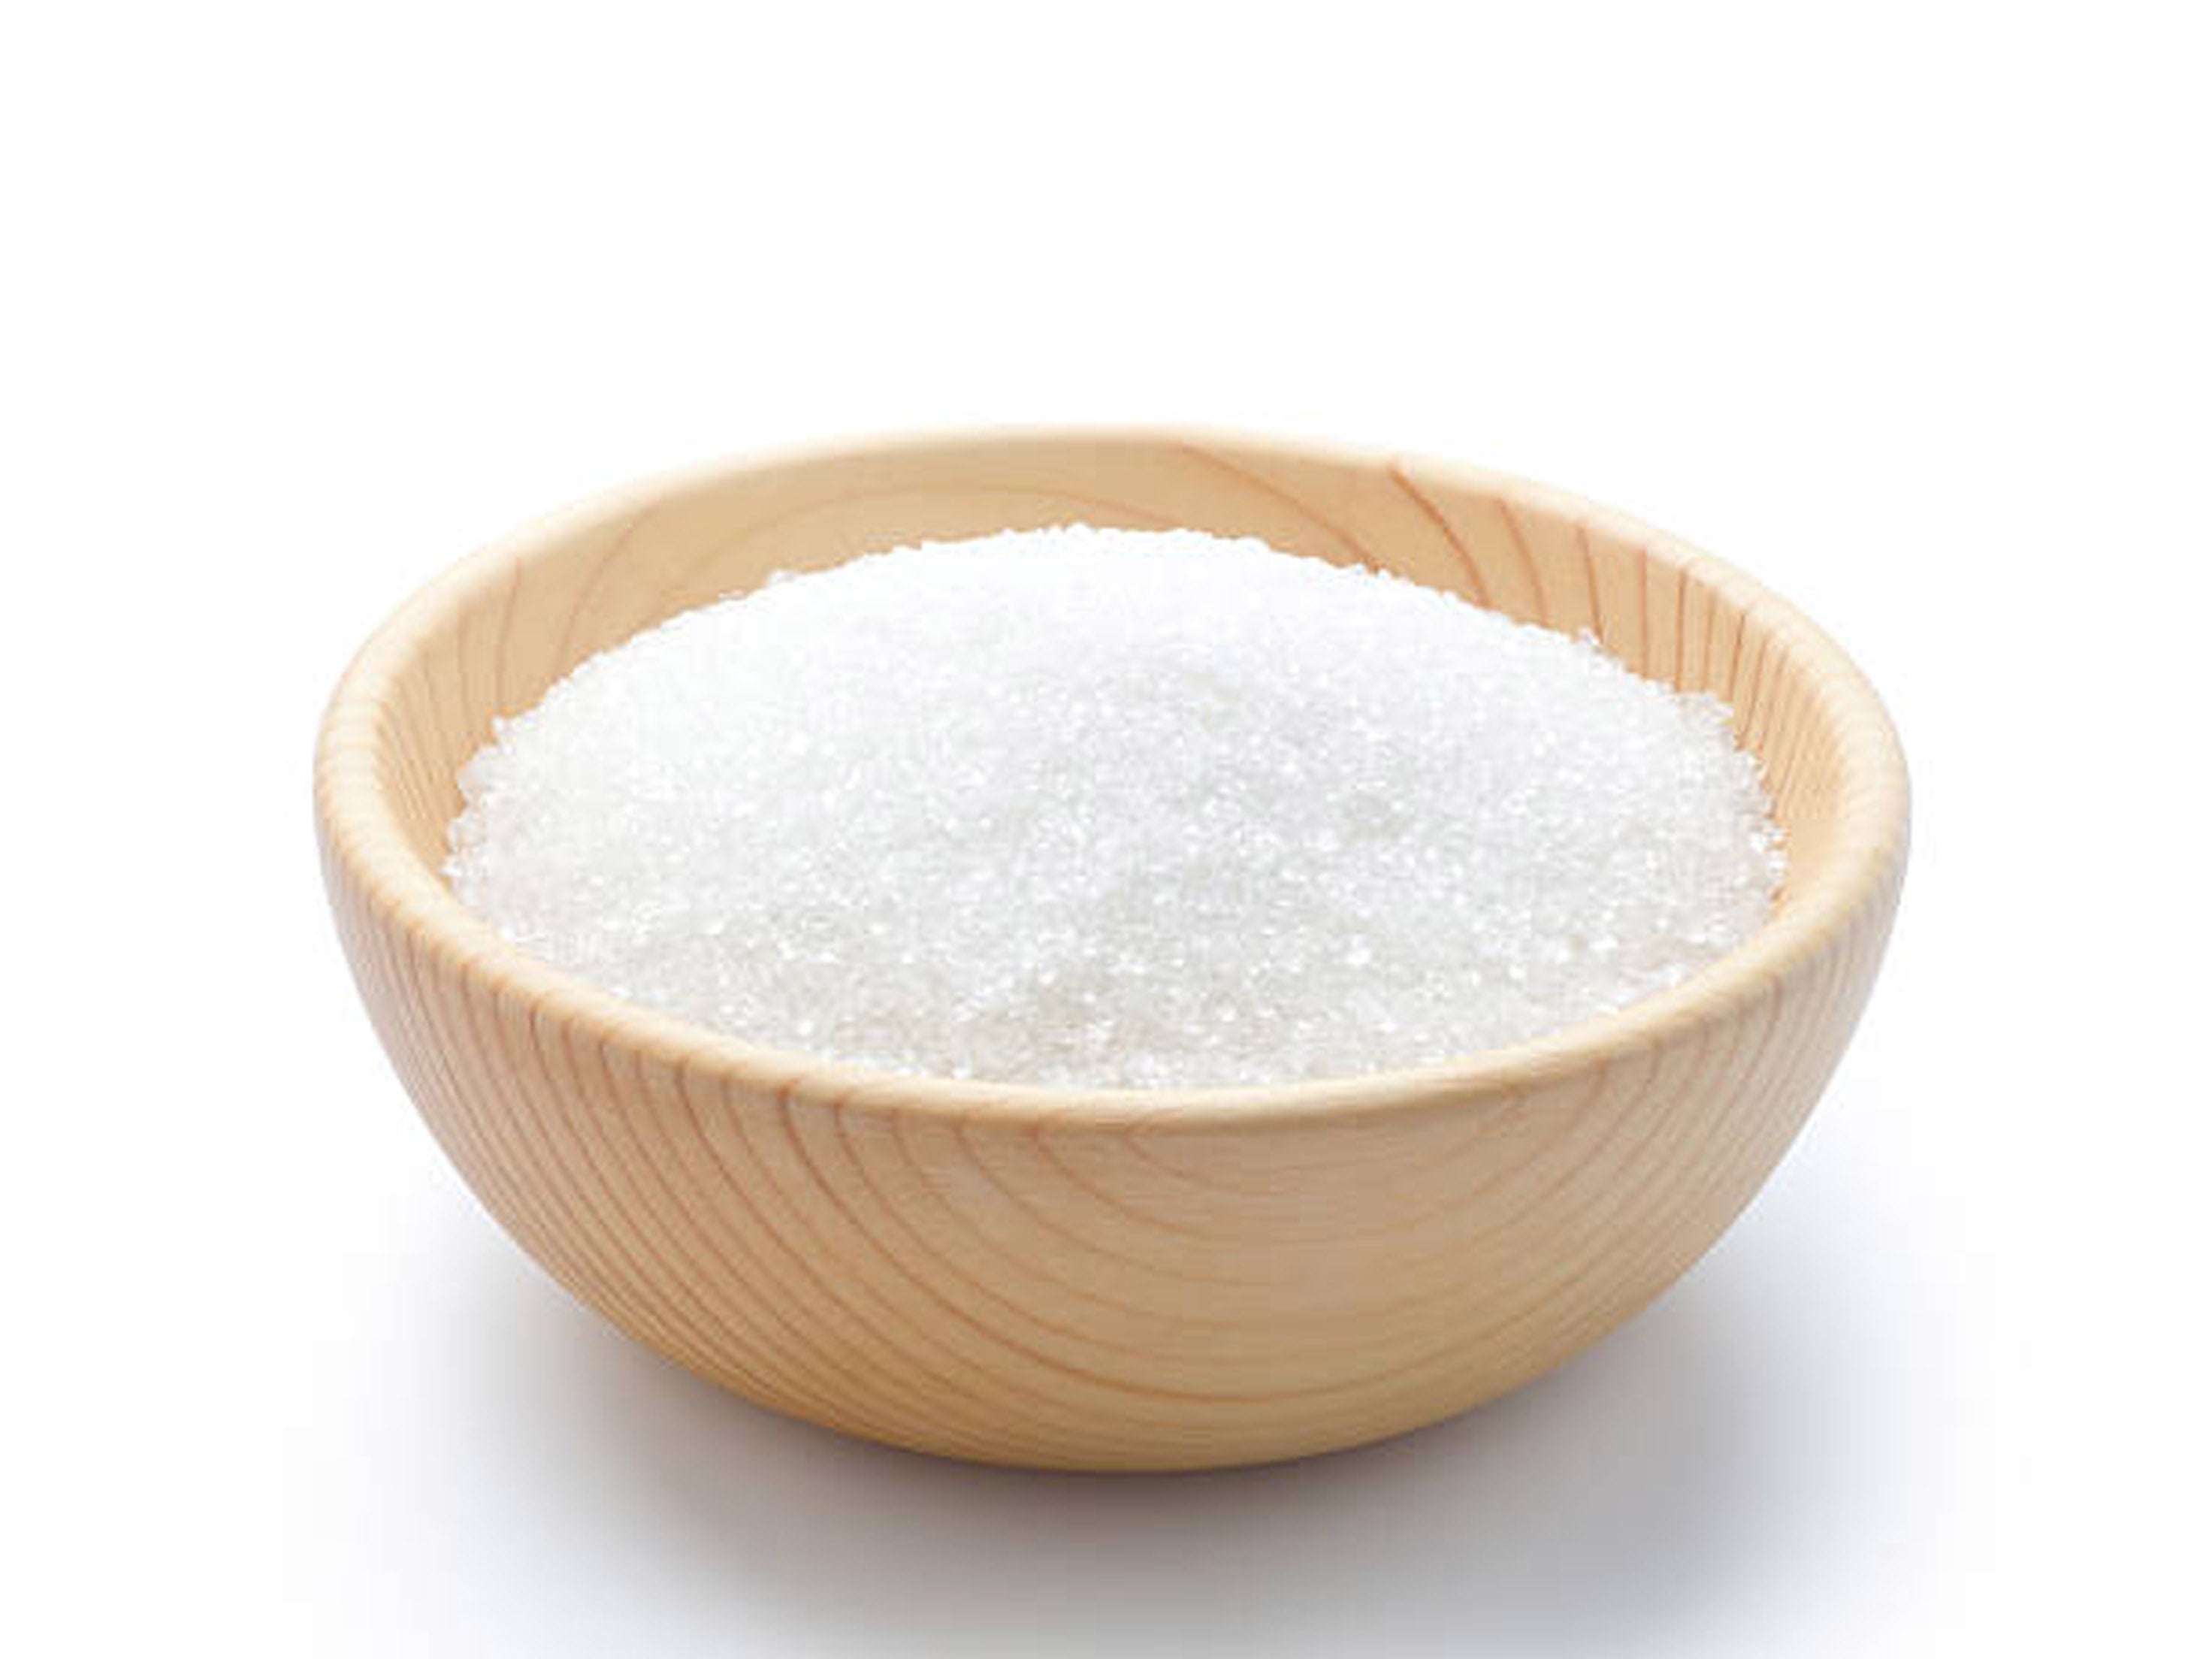
Sugar (Optional)
While optional, adding sugar to your henna powder offers several benefits. It prolongs the wetness of the henna on the skin, enhances adhesion, and increases flexibility, leading to darker stains without the need for a sealer. Experimentation with sugar levels may be necessary to find what works for your area. The more humid the climate, the less sugar you need.
-
Super Simple Henna Recipe
Are you new to henna? Then this straightforward recipe is for you! It simplifies the mixing process by combining all the ingredients at once, making it the perfect easy henna recipe. This is the recipe I personally swear by.
Here's what you'll need to mix a full bag (mini-mix measurements are below):- 100 grams of quality henna powder (I use ORa henna)
- Lemon Juice (approximately 1 - 1 1/2 cups - divided)
The more sugar and oils you add, the less lemon juice needed. - Sugar (optional - none or up to 2 tablespoons - increase in dry climates/decrease in humid climates)
- Equal Parts Lavender & Tea Tree Oils (1 ounce/30mL total)
Instructions:- Combine henna powder, sugar, and essential oils in a bowl.
Consider using a glass mixing bowl for easy cleanup and to avoid staining or retaining scents. - Gradually mix in lemon juice until you reach a thick mashed potato consistency.
At this point you haven't used all the liquid. Set excess liquid aside for thinning later. - Cover the mixture with plastic wrap, pressing it down until it touches the surface of the henna.
- Let it sit to allow for dye release.
The time varies based on the type of henna and temperature. - Check for dye release every 4-6 hours.
Place a dot of henna on the heel of your hand and wait 5 minutes before wiping it away. If you achieve a nice orange stain, dye release is complete.
- ORa Rajasthani: typically 6-24 hours
- Jamila Henna: typically 24-36 hours - Once dye release is confirmed, adjust the paste consistency by adding more lemon juice until it reaches your desired thickness and mix well.
Aim for a consistency similar to thick stirred yogurt or thick brownie batter. Ideally, the henna should slowly ribbon off your spoon and form peaks that slowly melt or slump but don't flatten completely. See the short video below. - Optionally, strain the henna for a smoother texture.
Instructions and a video are on the Henna DIY page. - Transfer the henna into individual cones and freeze until ready to use.
Enjoy your henna adventure!
-
Helpful Tips
- If you are new, don't mix the entire bag in one go. Begin by mixing only 1/4 or 1/3 of your henna powder at a time. This allows you the flexibility to experiment with your henna recipe until you find the perfect blend that suits your preferences. Mini-mix measurements are below and make 3-4 small cones.
- If you are new to henna AND in a humid area, start without sugar and add a small amount each time you mix a new batch to see what you like and what your climate can handle. I'm in Florida and use 1 Tablespoon of sugar per 100 grams of henna.
- If achieving a deep color is crucial, or if you're doing henna professionally, use 1 ounce/30 mL of oil per 100 grams of henna. For hobbyists, less oil is sufficient. You can use as little as 1/3 ounce/10mL.
- If you are mixing 100 grams or more, you can use a stand-up mixer to make it super easy. Smaller batches can still use a handheld mixer to make it easy. Be sure your henna is well blended so it doesn't separate.
- If you are using water instead of lemon juice, check for dye release every 2 hours. Dye releases faster with water, but the henna also demises faster. We recommend lemon juice.
- MAKE NOTE - Dye release time depends on temperature. The colder it is, the longer it takes to release dye. Ideal release temperature is 78-82. Temperatures under 70 degrees can take substantially longer to release dye.
- Texture is a personal preference. Some artists like thick henna and some prefer thin henna. Experiment to find what you like. See the video below.
- When adding liquid to the henna to get to the final texture. Add a little at a time and mix well. It's eaiser to thin your henna than to thicken it. If you make your henna too thin, add henna powder a pinch at a time until it thickens to your preferred texture. Do not add anything other than henna powder as a thickener or your henna will be ruined.
- Do NOT add sugar to thicken your henna. Sugar melts in your henna turning into a liquid. Sugar will make your paste THINNER, not thicker.
- To avoid henna separation, mix your henna really well. When I use a stand mixer, I let it run for about 15-20 minutes once I have the perfect texture.
- Check out the Henna Troubleshooting page for more information.
Enjoy the 5 minute mini-mix video below. It's perfect for beginners!
- If you are new, don't mix the entire bag in one go. Begin by mixing only 1/4 or 1/3 of your henna powder at a time. This allows you the flexibility to experiment with your henna recipe until you find the perfect blend that suits your preferences. Mini-mix measurements are below and make 3-4 small cones.
-
Henna Mini Mix Recipe
Creates 3-4 small henna cones.
- 2 Tablespoons of quality henna powder (I use ORa henna)
- 2 Tablespoons of Lemon Juice (you may add more to adjust the consistency after dye release)
The more sugar and oils you add, the less lemon juice needed. - 1 teaspoon Sugar (optional - none or up to 1.5 teaspoons - increase in dry climates/decrease in humid climates)
- Equal Parts Lavender & Tea Tree Oils (1 teaspoon total or 1/2 teaspoon of each)
Instructions:- Combine henna powder, sugar, lemon juice, and essential oils in a bowl.
- Cover with plastic wrap and set aside to await dye release. The time varies based on the type of henna and temperature.
- Check for dye release every 4-6 hours.
Place a dot of henna on the heel of your hand and wait 5 minutes before wiping it away. If you achieve a nice orange stain, dye release is complete.
- ORa Rajasthani: typically 6-24 hours
- Jamila Henna: typically 24-36 hours - Once dye release is confirmed, adjust the paste consistency by adding more lemon juice until it reaches your desired thickness and mix well. Aim for a consistency similar to thick stirred yogurt or thick brownie batter. Ideally, the henna should slowly ribbon off your spoon and form peaks that slowly melt or slump but don't flatten completely. See the video above for an example of texture.
- Optionally, strain the henna for a smoother texture.
Instructions and a video are on the Henna DIY page. - Transfer the henna into individual cones and freeze until ready to use.
Enjoy your henna adventure!
-
How Much Oil Do I Use in Henna?
Great question! Use the least amount of oils you need to get good color.
Essential oils are no joke and can be harmful! They are the ingredient in your henna most likely to cause a reaction. If you are in doubt about the safety of EOs and a client, leave them out. You won't get as dark of color, but safety is always first.
Generally, you need 10-30 mL (1/3-1 ounce) of oil per 100 grams of henna powder.
The maximum amount of oil that is safe for henna use is 30mL (1 ounce) of oil per
100 grams of henna powder and will yield the darkest color. This is what I use, 30mL per 100 grams of henna.
If you bought a kit, you don't have to worry about measurements, just keep the ratio of henna to oil.- If you mix the entire bag of henna, add ALL the essential oils from the kit.
- If you mix half a bag of henna, add half of each bottle of oil.
- If you mix a quarter of the bag of henna, add a quarter of each bottle of oil.
...and so on! Easy peasy!
Here is a chart that will be useful if you prefer a more precise measurement.
I suggest using a digital kitchen scale to weigh out grams.

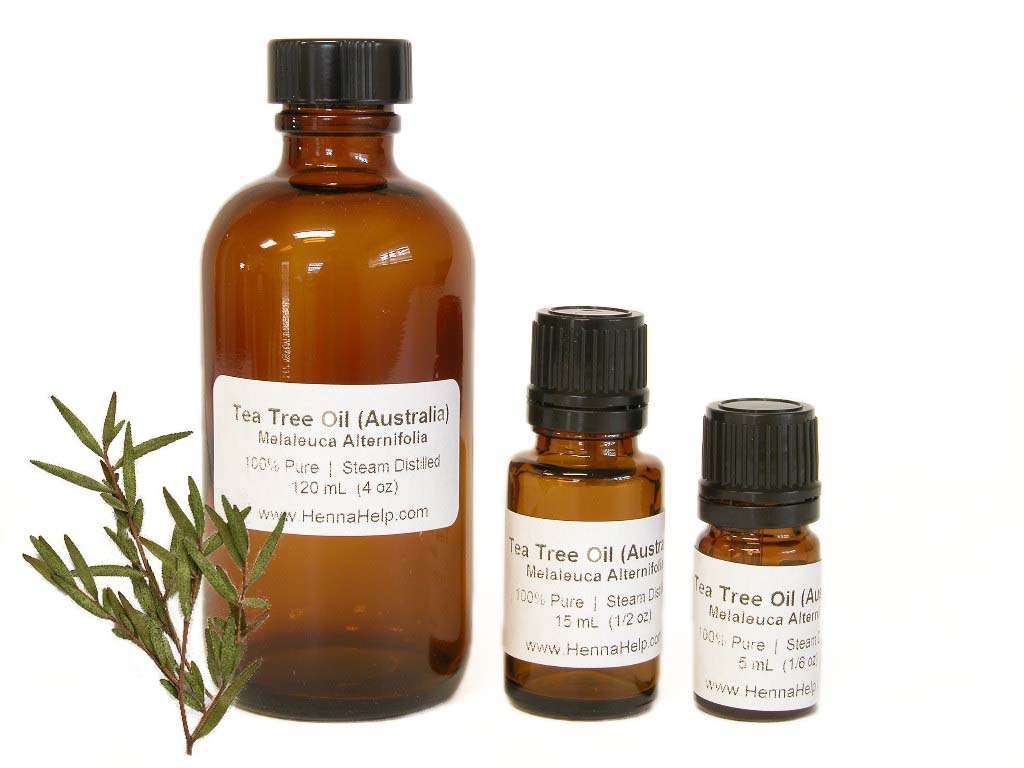
Essential Oils in Henna Paste
Check out our detailed guide for more helpful tips on using essential oils with henna. Learn about essential oils and how they affect the color and safety of your henna. Find out how to use them properly for the best color results.
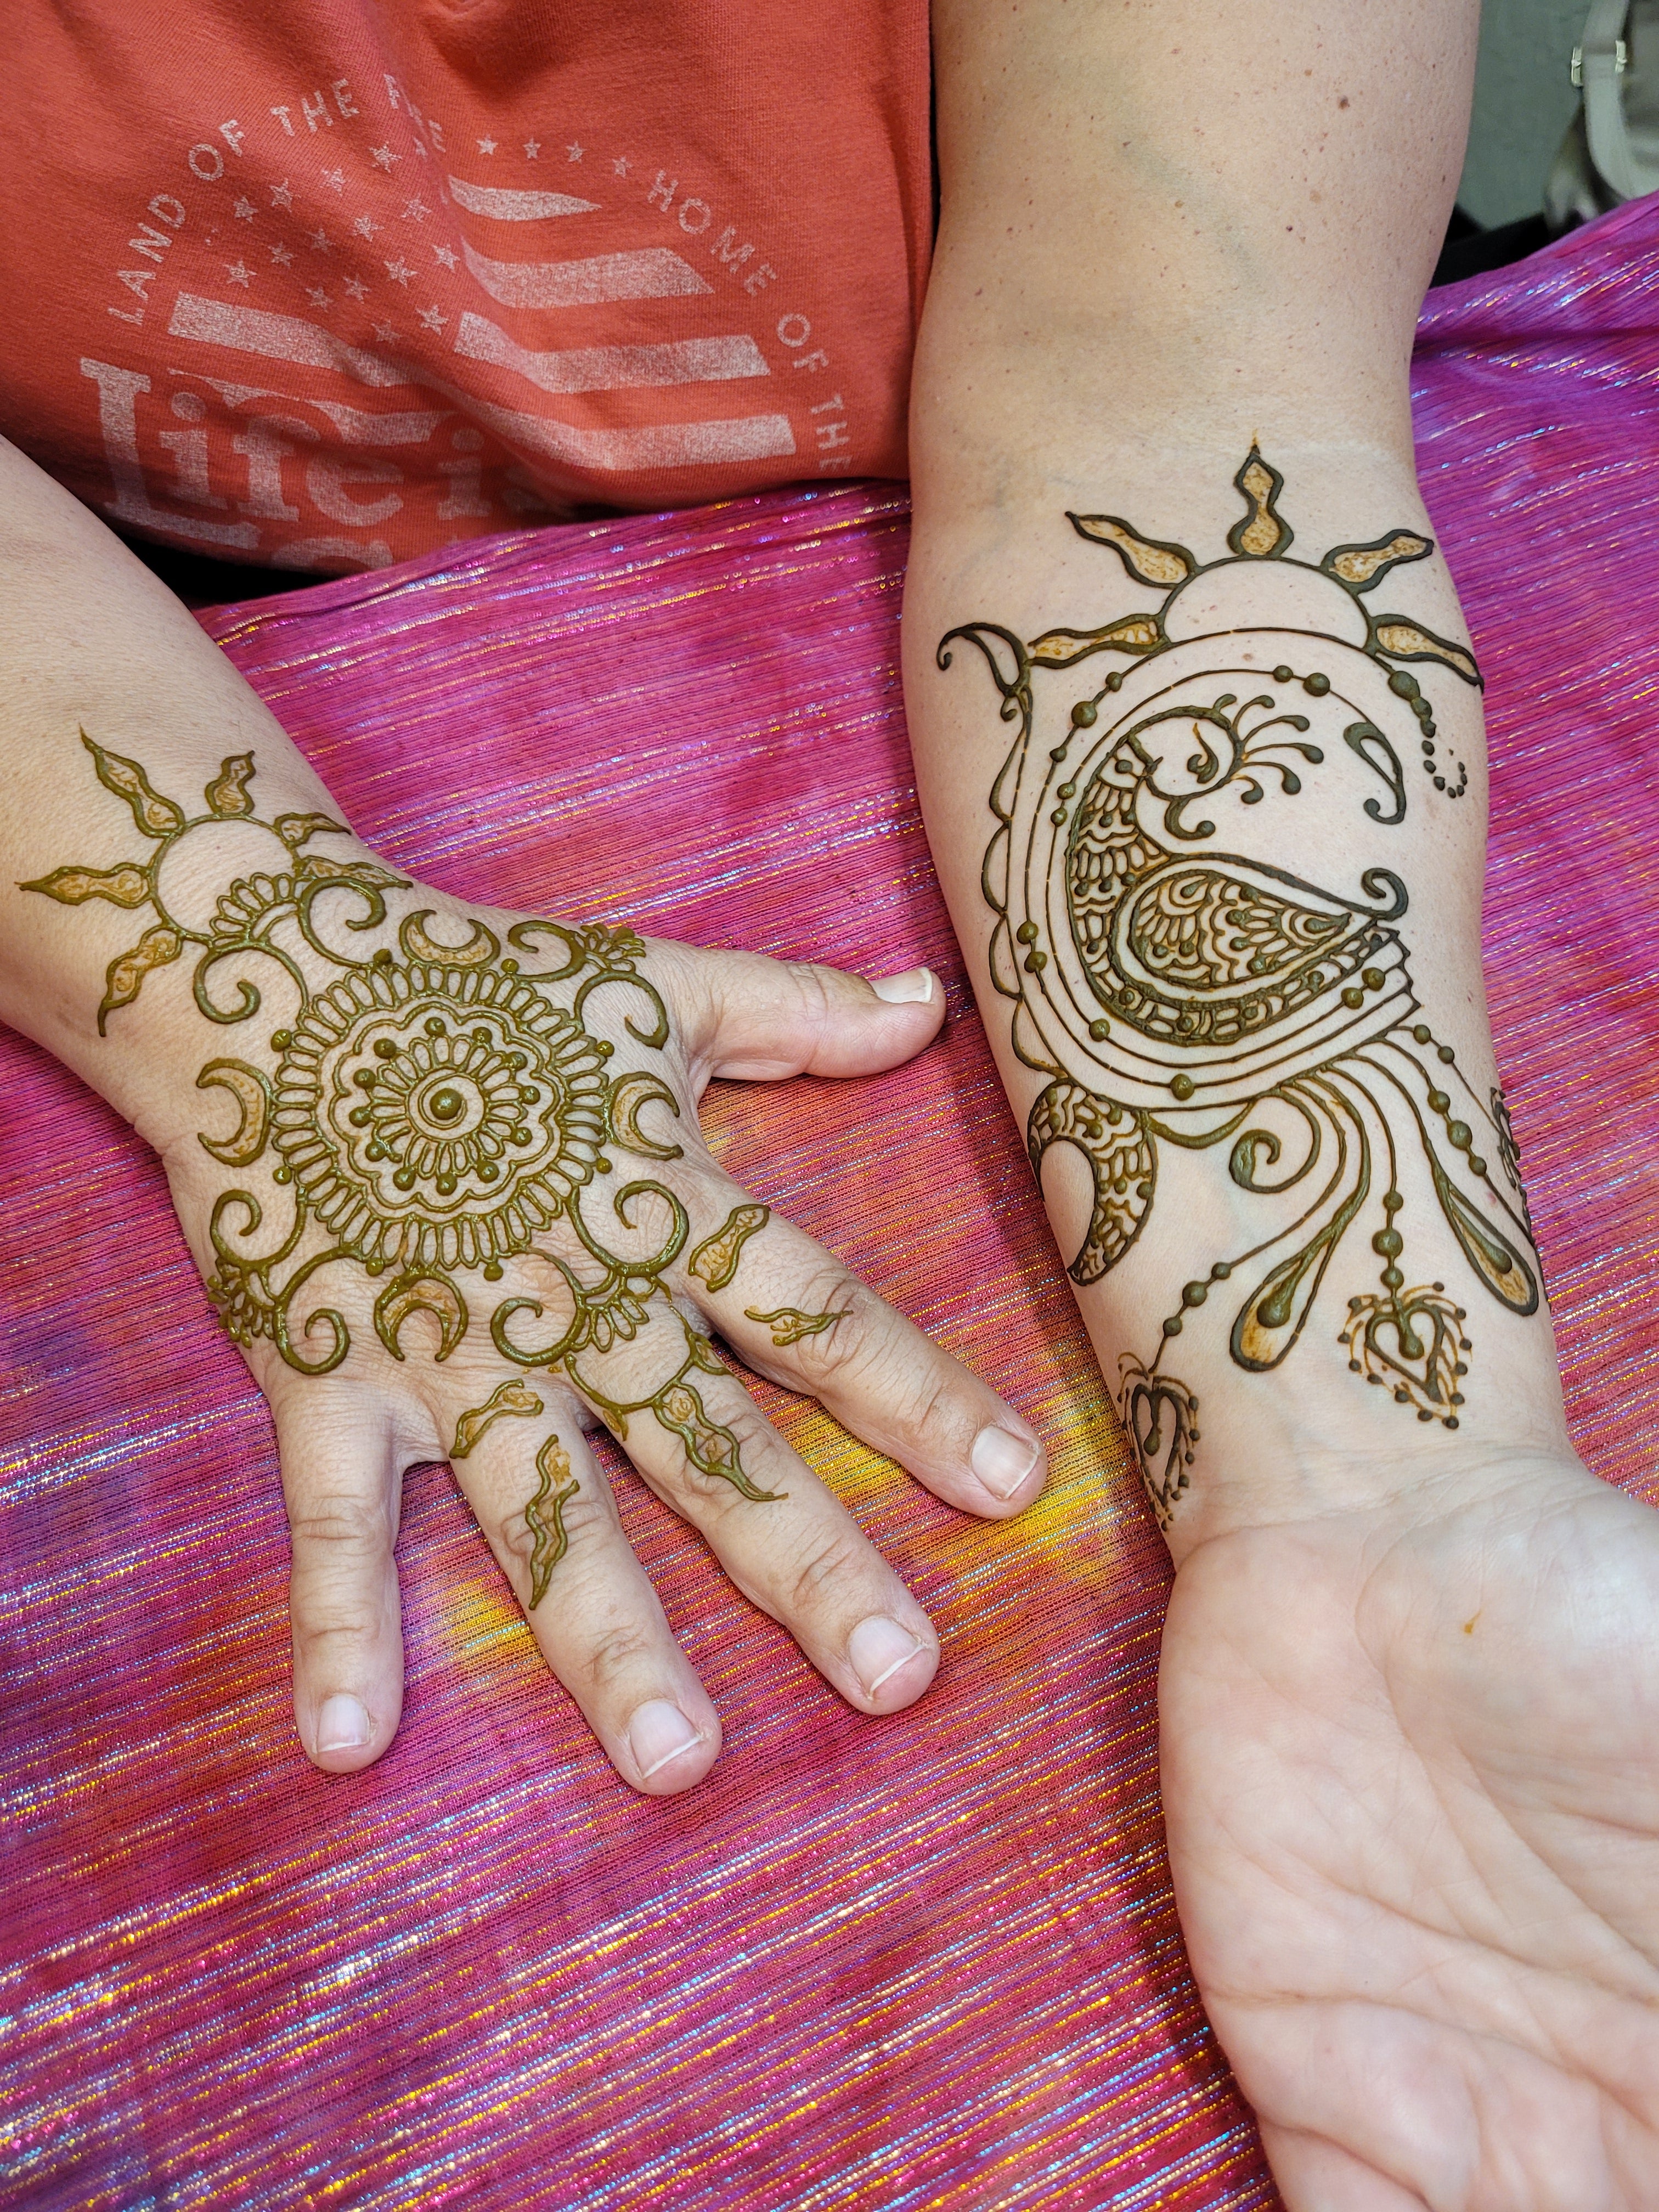
Henna is for Everyone!
We all deserve to feel beautiful and powerful!

