Henna Application Techniques: An Easy and Fun Beginners Guide
Hey henna friends!
Welcome to the wonderful world of henna! Today, we’re diving into the basics of henna application. Get ready to let your inner henna artist shine with some tips and tricks to get you started right.
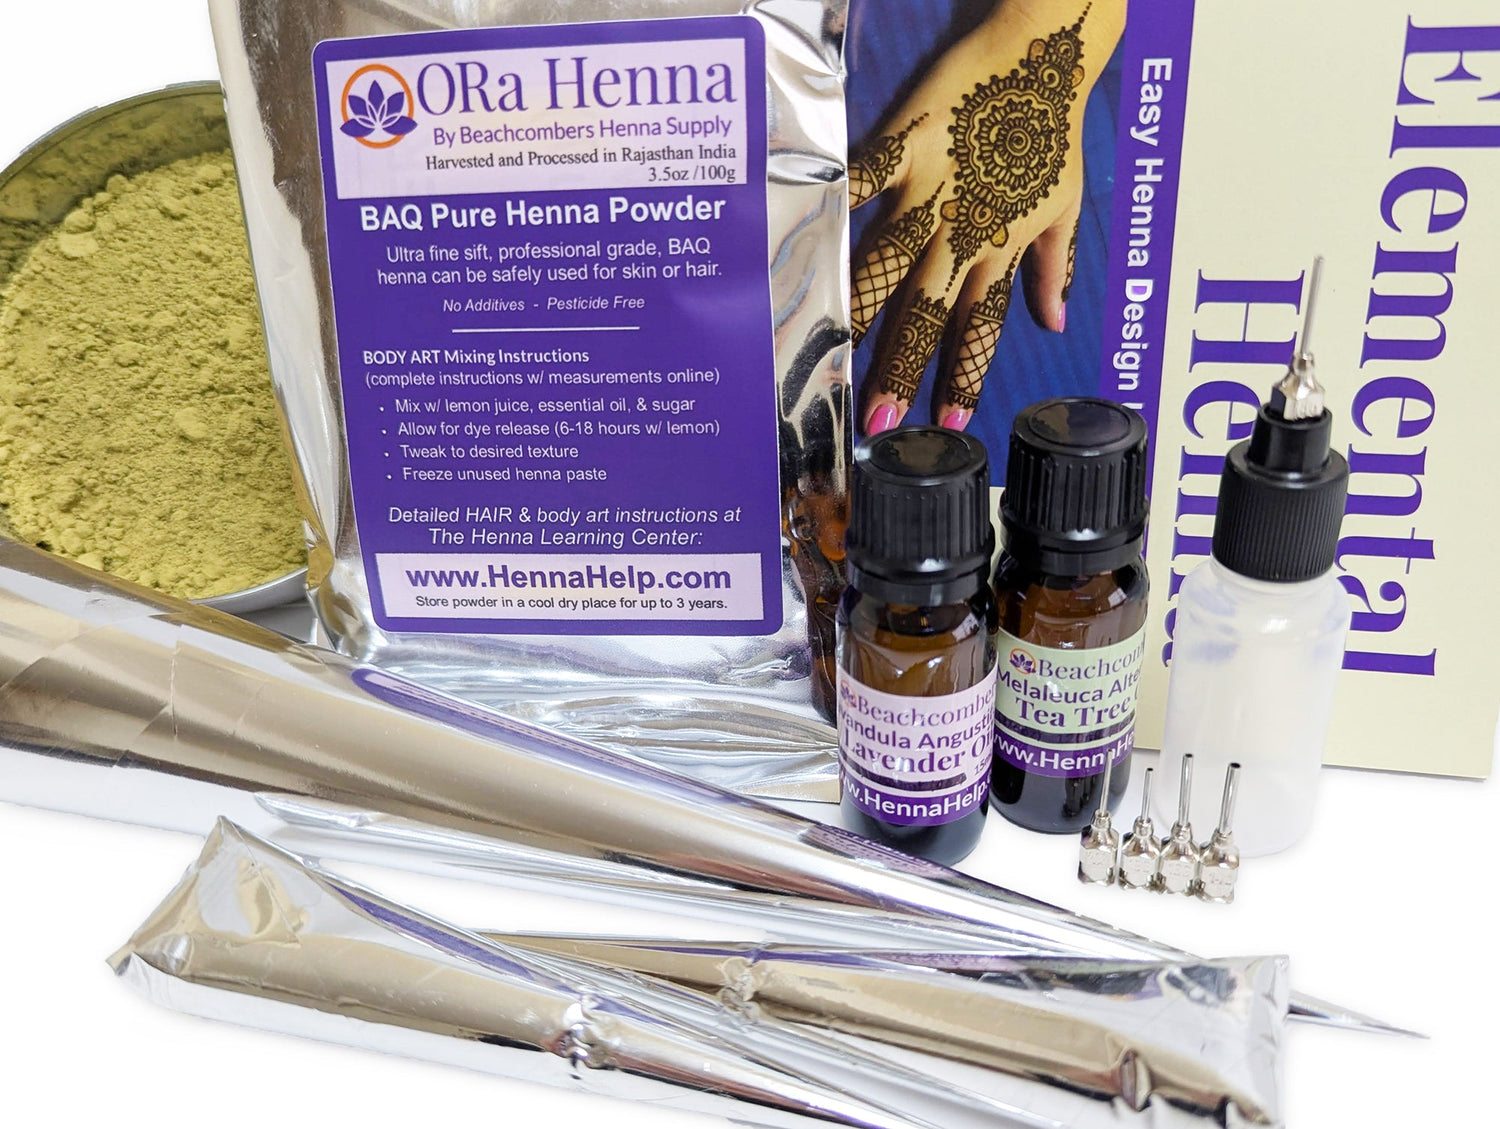
Step 1: Gather Your Supplies
First things first, let's talk tools. You don't need much!
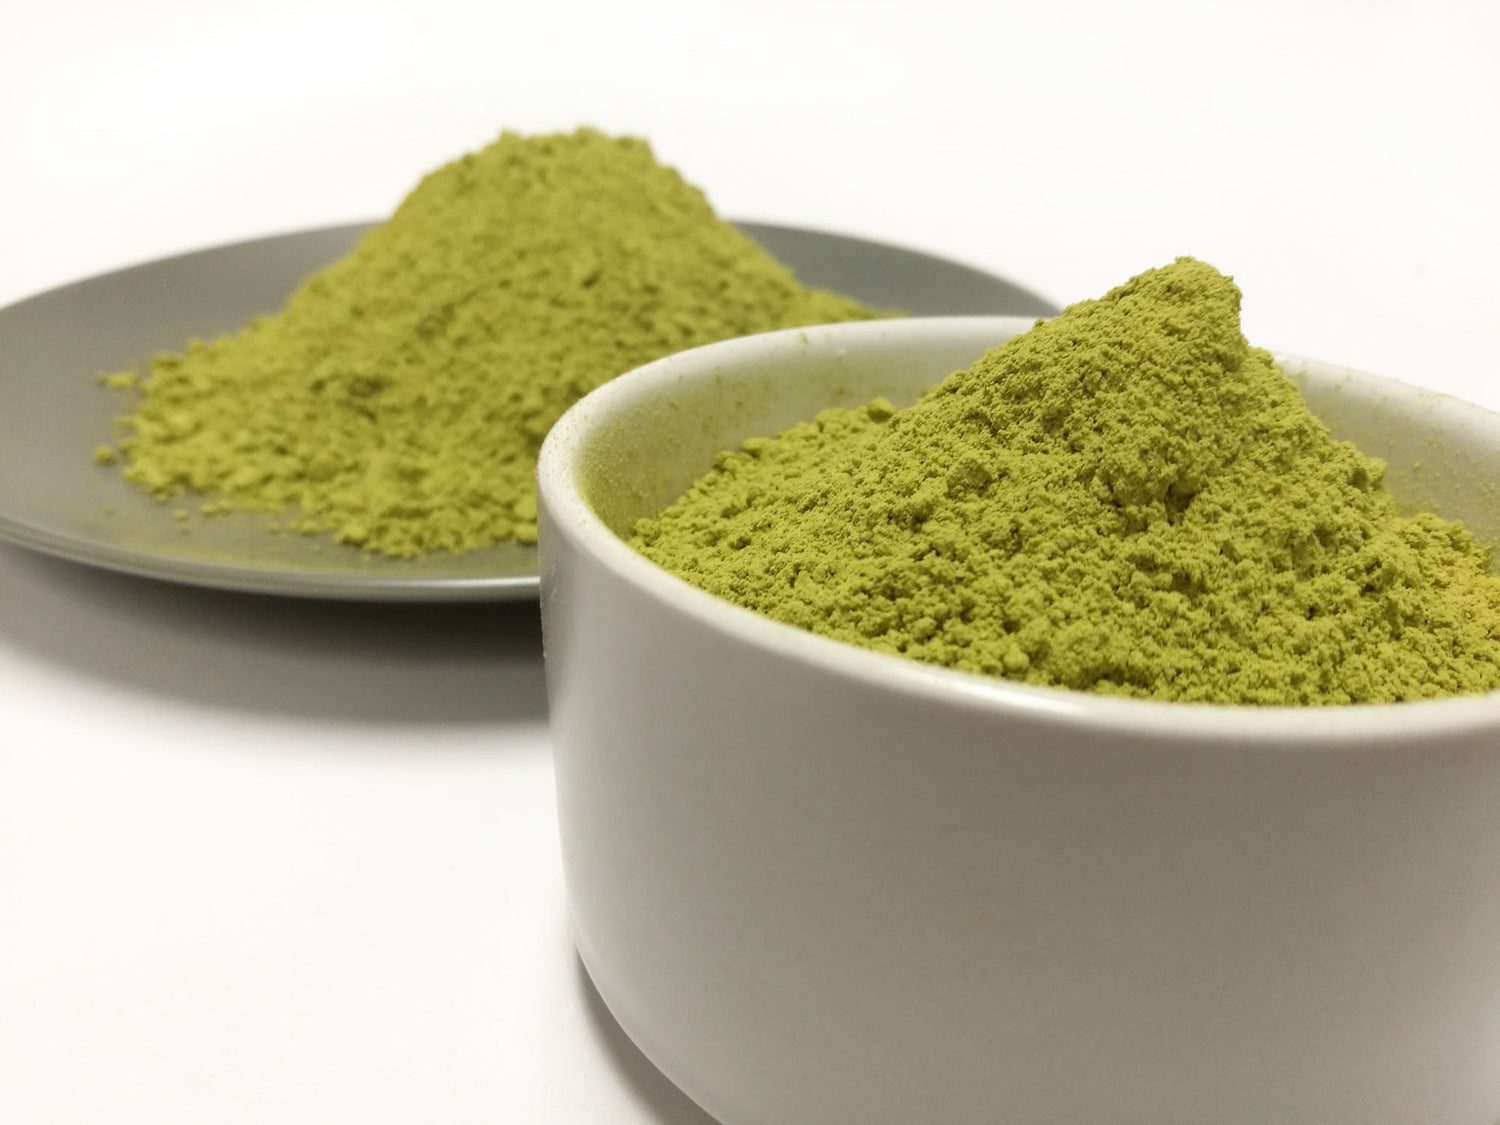
- Henna paste: You can buy pre-made cones or mix your own. If you’re feeling adventurous, making your own paste is a fun and hands-down the bet option (we have an easy recipe with a short video on the site!).
- Applicator: Henna cones are the most popular (and what I use), but you can also use our bottles with fine tips.
- Design inspiration: Instagram pictures, eBooks, or your own creativity. The world is your canvas! HINT: I have HUNDREDS of free designs for you here.
- Keep it clean!: Some paper towels and a toothpick are helpful.
Step 2: Prepare Your Canvas
No, I’m not talking about a trip to an art supply store. Your skin is your canvas, so let’s get it ready. Wash the area with soap and water to remove ANY oils and lotions. Dry thoroughly. You want a nice, clean surface for your masterpiece.
Step 3: Practice Makes Perfect
Before you dive in, practice a bit on paper. It’s like warming up before a workout. Get a feel for the cone or bottle, practice lines, dots, and shapes. Once you’re comfortable, it’s showtime!
Step 4: Start Small
If you’re a beginner, start with simple designs. Trust me, there’s no shame in baby steps. Try a simple flower, some vines, or a basic mandala. Remember, Rome wasn’t built in a day, and neither is a henna pro. There are many easy beginner-friendly designs on the free design pages at The Henna Learning Center.
Step 5: Steady Hands, Steady Designs - Sort Of!
Don't worry you don't actually need a steady hand to HAVE a steady hand. Rest your arm on a table or brace your wrist with your other hand to keep it stable. You can also brace the cone itself with your other hand. Notice how I'm bracing my hand in this real-time henna video.
Breathe in, breathe out. Channel your inner zen. Apply the henna paste gently, squeezing the cone or bottle with consistent pressure. More pressure will give you thicker lines, so practice varying pressure to create different line thickness in your designs.
Step 6: There's No Oops in Henna!

Work "mistakes" into your design. Just turn that smudge into an artistic swirl or a leaf. No one will know the difference! If that's not possible, use a toothpick or the tip of your cone/bottle to clean up any errors as soon as possible.
Step 7: Patience is a Virtue
Once your design is complete, let it dry for at least 30 minutes. Don’t touch it, don’t scratch it, and definitely don’t smudge it (we’ve all been there). Keep it on for a minimum of 4 hours. Optionally, you can apply a sealer to keep it moist and sticky. This helps the henna stick to the skin better giving you a better stain.
Our Henna DIY page has instructions for making and using a henna sealer.
Step 8: The Grand Reveal
After four hours (or overnight if you’re patient), gently scrape off the dried paste. Do not wash it off with water! Use your fingers, the back of a butter knife, or a cotton ball soaked in olive/coconut oil to remove the dried paste. The design will be light orange at first but will darken to a rich red/brown over the next 2-3 days.
Step 9: Flaunt Your Art
Congratulations, you’ve done it! Show off your beautiful henna design to friends, family, and random strangers. Bask in their admiration! You deserve it!
Bonus Tips:
- Stay warm: Henna stains better when you’re warm, so cozy up.
- Moisturize: Apply coconut oil or shea butter on the mature stain to keep your design looking fresh.
- Experiment: Try different designs, placements, and styles. The more you practice, the better you’ll get.
So, there you have it! With these beginner techniques, you’ll be on your way to henna stardom in no time. Remember, it’s all about having fun and expressing yourself. And if you need supplies or more inspiration, I've got you at HennaHelp.com. Happy henna-ing!
Stay colorful, Jody

