Henna Cone Rolling 101: Watch the Video Tutorial
How to Roll a Henna Cone
For henna artists, the henna cone is everything.
A well rolled cone gives you smooth flow, great control, and comfortable handling while you work. If the cone is rolled poorly, it can fight you the entire time. Lines squiggle, paste leaks, and the whole process becomes frustrating.
The good news is that once you learn the technique, rolling cones becomes quick and easy.
I’ve included a video below that walks through the process step by step so you can see exactly how the cone comes together.
Watch the Cone Rolling Tutorial
This video shows BOTH how to roll a cone with a closed tip and an open tip. It also shows you how to get different cone shapes, and shares why I roll my cones they way that I do.
If you’re new to rolling cones, pause the video and practice along the way.
Please take a moment to "Like" the video and maybe subscribe to my You Tube channel. It really helps small businesses like me.
Step‑by‑Step Henna Cone Rolling
These instructions are adapted from the same method we teach in our DIY Henna Learning Center.
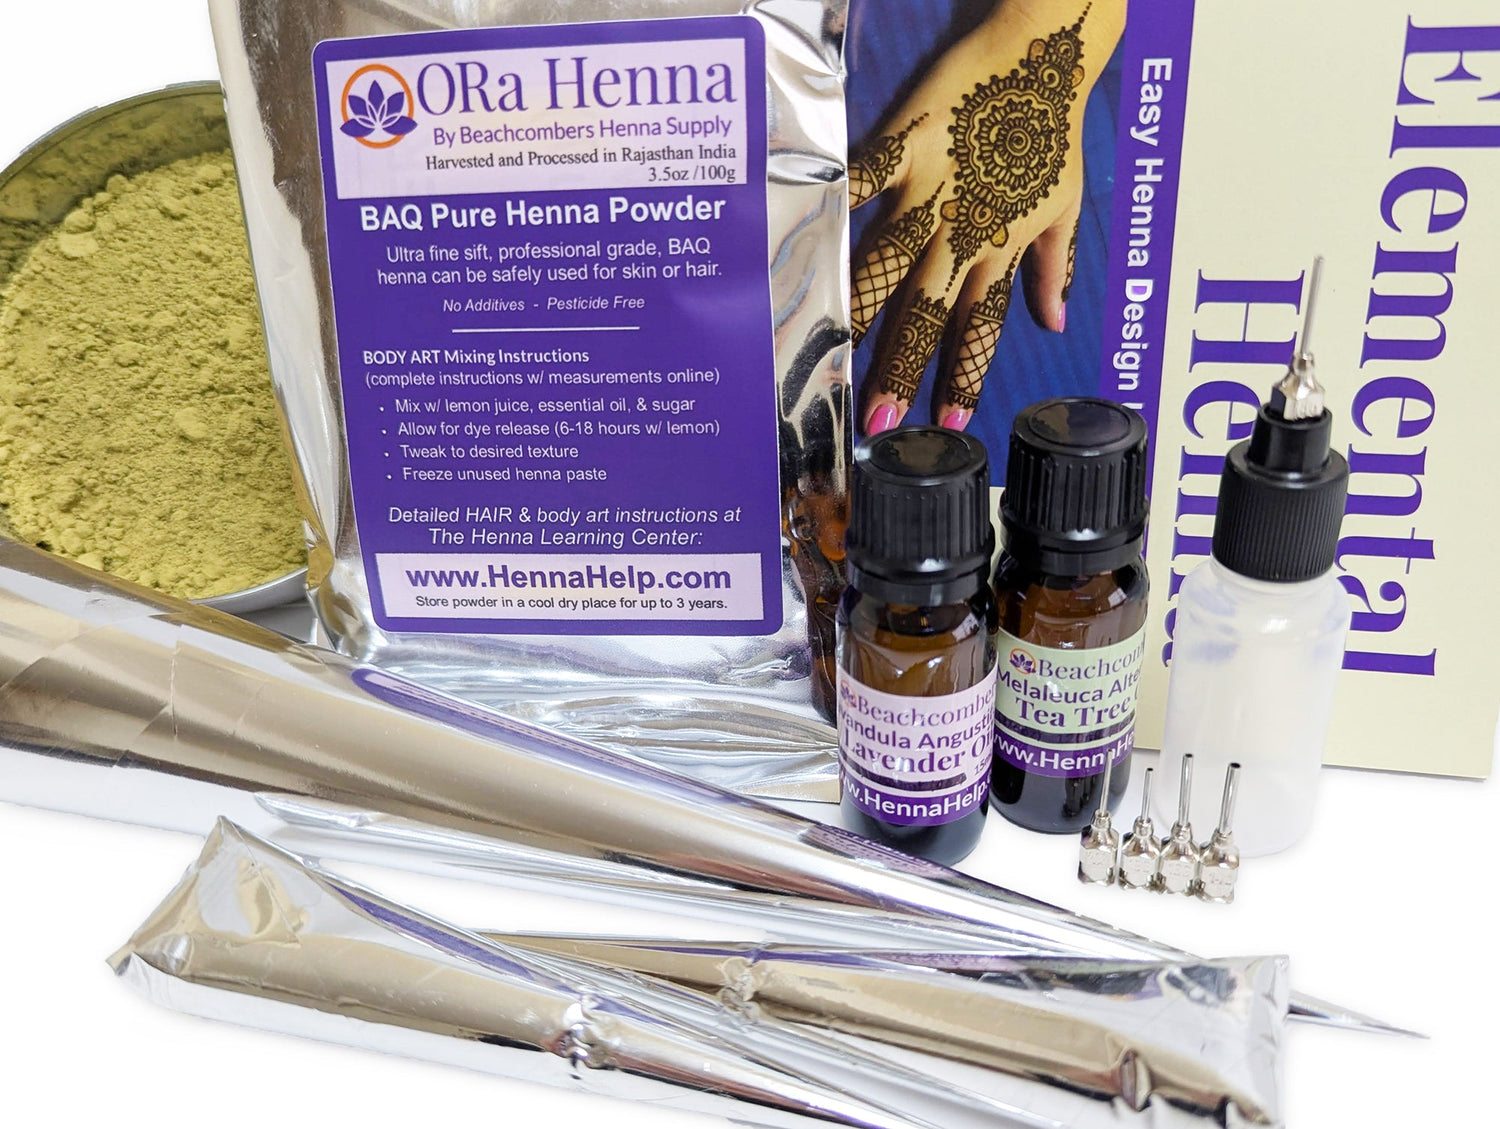
1. Choose Good Cellophane Triangles
I recommend pre‑cut cellophane triangles because they save time and help you control cone shape. You can also cut them yourself, but pre‑cut pieces make rolling a breeze.
2. Place the Triangle
Lay the triangle with the long edge facing you. Put a finger in the center of the long edge, which gives you a stable base to start forming the cone.
3. Twist One Corner
Pick up either corner with your free hand and begin twisting it toward the finger in the middle. Keep twisting to form the cone shape. This twisting creates the basic cone foundation.
4. Adjust the Shape
Once you have a cone form, hold it with two fingers inside. Twist gently with your fingers WHILE gently pulling away with your other hand. This is where that video is really helpful! The goal is a clean, sharp point before you tape it.
5. Tape the Seam
Use a clear tape like Scotch Red Plaid to secure the cellophane about 1⁄2 to 1 inch from the tip. Avoid the frosted green tape, the clear tape sticks better and doesn’t break down from essential oils.
6. Fill and Seal
Fill the cone half to two‑thirds full with your henna paste using a carrot bag or sandwich baggie.
If you rolled a closed cone, don’t worry if the paste doesn’t reach the tip yet, you’ll cut that later. If you rolled an open cone, don't stress about the little bit of henna that comes out of the tip. It will dry and that will self-seal the tip of the cone.
Fold the top edges down into a tab, roll tightly, and secure with tape or binder clip. You can also use a rubber band to close the cone. I prefer tape.
7. Cut the Tip (for closed cones)
When you are ready to use the cone, cut the tip off with scissors or nail clippers. Start with a tiny opening, you can always cut a bit more for a larger flow. Open until you can create a smooth line without squiggles.
Pro Tip: If you've rolled open cones, you can still cut them larger if you need!
Why This Method Works
There’s a reason this rolling technique has stuck around in henna circles:
• Sharp, pointy tips = better line work
• Pre‑cut cello triangles save time and improve consistency
• Proper filling and sealing keeps paste where it belongs
• You control cone size and flow for your style of henna application
You’ll notice the difference immediately when you use well‑rolled cones with good tips. Your lines will flow smoother, your designs will look more confident, and you’ll waste less paste overall.
Pro Tips From the DIY Henna FAQ
• Make extra‑small “single serve” cones for appointments for minimal waste. These are great for quick designs.
• If you prefer henna applicator bottles, the same basic cone‑filling method works to load applicator bottles too. Henna also freezes better in cones than in bottles.
• Knead your cone before cutting the tip to avoid henna separation or air pockets.
Watching the video and then practicing a few cones is all it takes to go from fumbling to skilled in no time. Rolling cones is one of those small skills that pays big dividends in comfort, control, and design quality.