Small Batch Henna Recipe, Big Impact: Your Guide to Flawless Henna
Hey there, budding henna artists!
If you’re new to the world of henna, here’s a tip that can make a big difference: resist the urge to mix an entire bag of henna at once. Here’s why starting small is the way to go:
Why Small Batches?
Quantity: Mixing a whole bag of henna powder is like diving into the deep end before learning to swim. It’s way more henna than you likely need when you’re just starting out.
Customization: Henna mixing is both an art and a science. This recipe give you a good foundation based on the science of henna. By starting with small batches, you can experiment with different consistencies to find what works best for your style and climate - the ART of mixing henna.
The Small Batch Henna Recipe
This simple recipe will yield 3-4 small henna cones, perfect for creating 15-20 beautiful designs. It’s easy to follow and allows you to adjust the paste to suit your preferences and local conditions.
Henna Mini Mix Recipe
Creates 3-4 small henna cones.
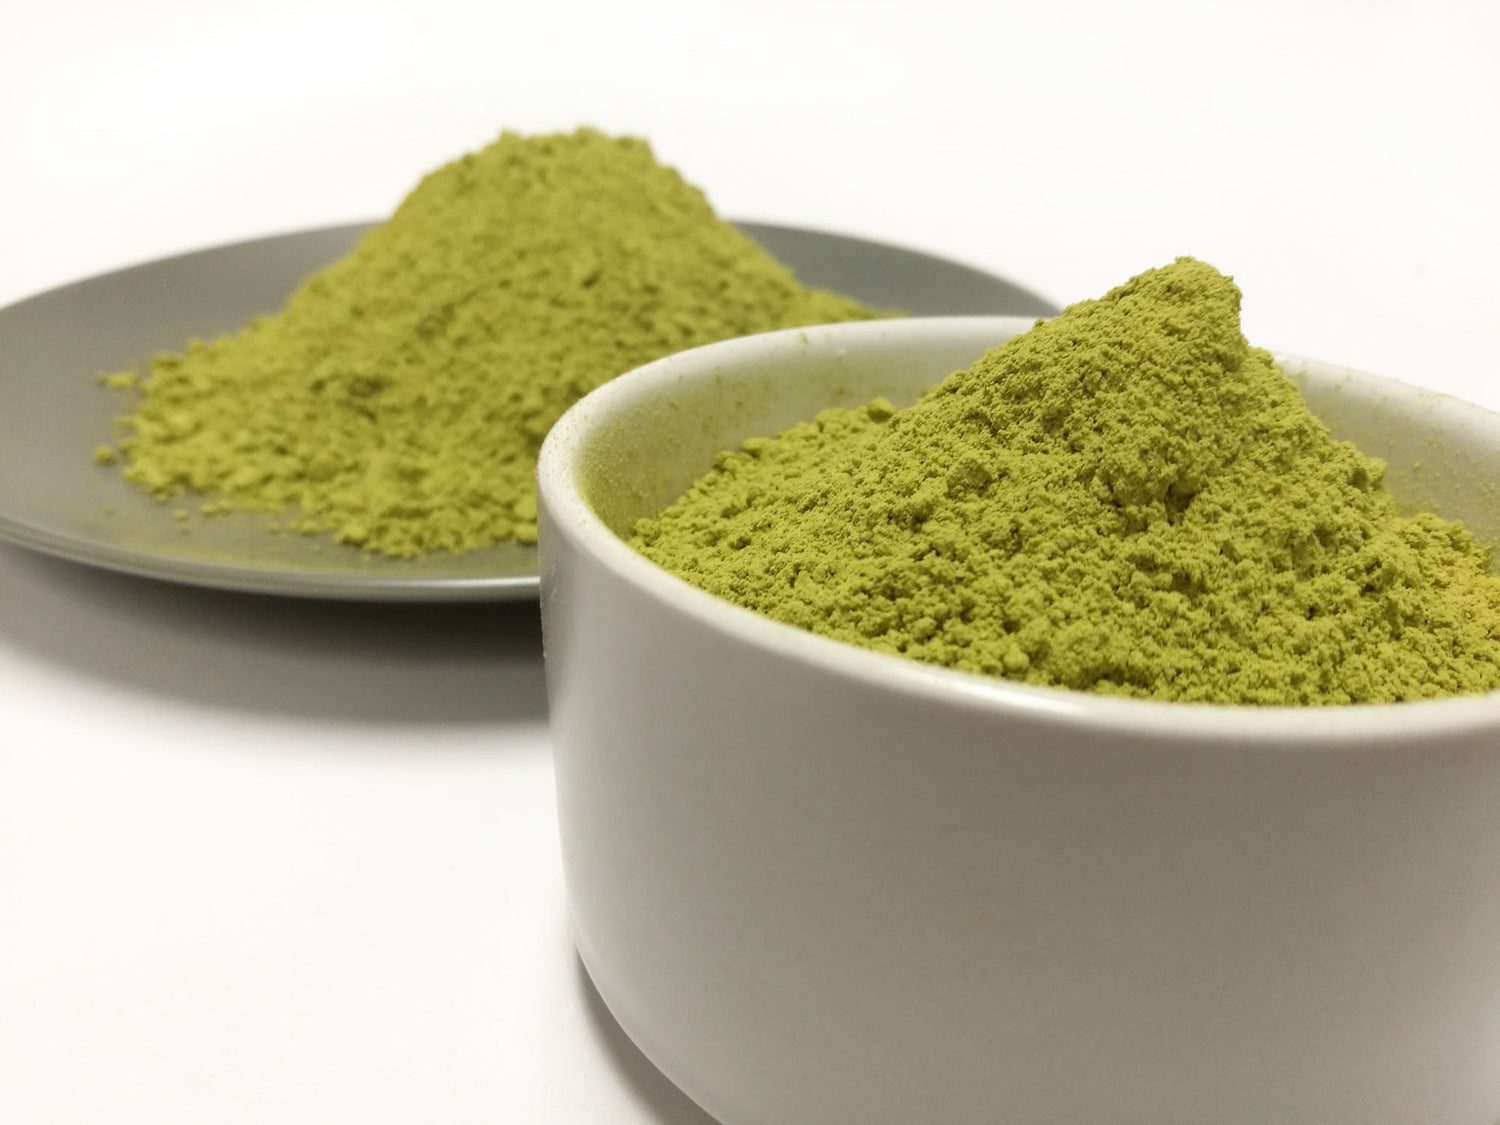
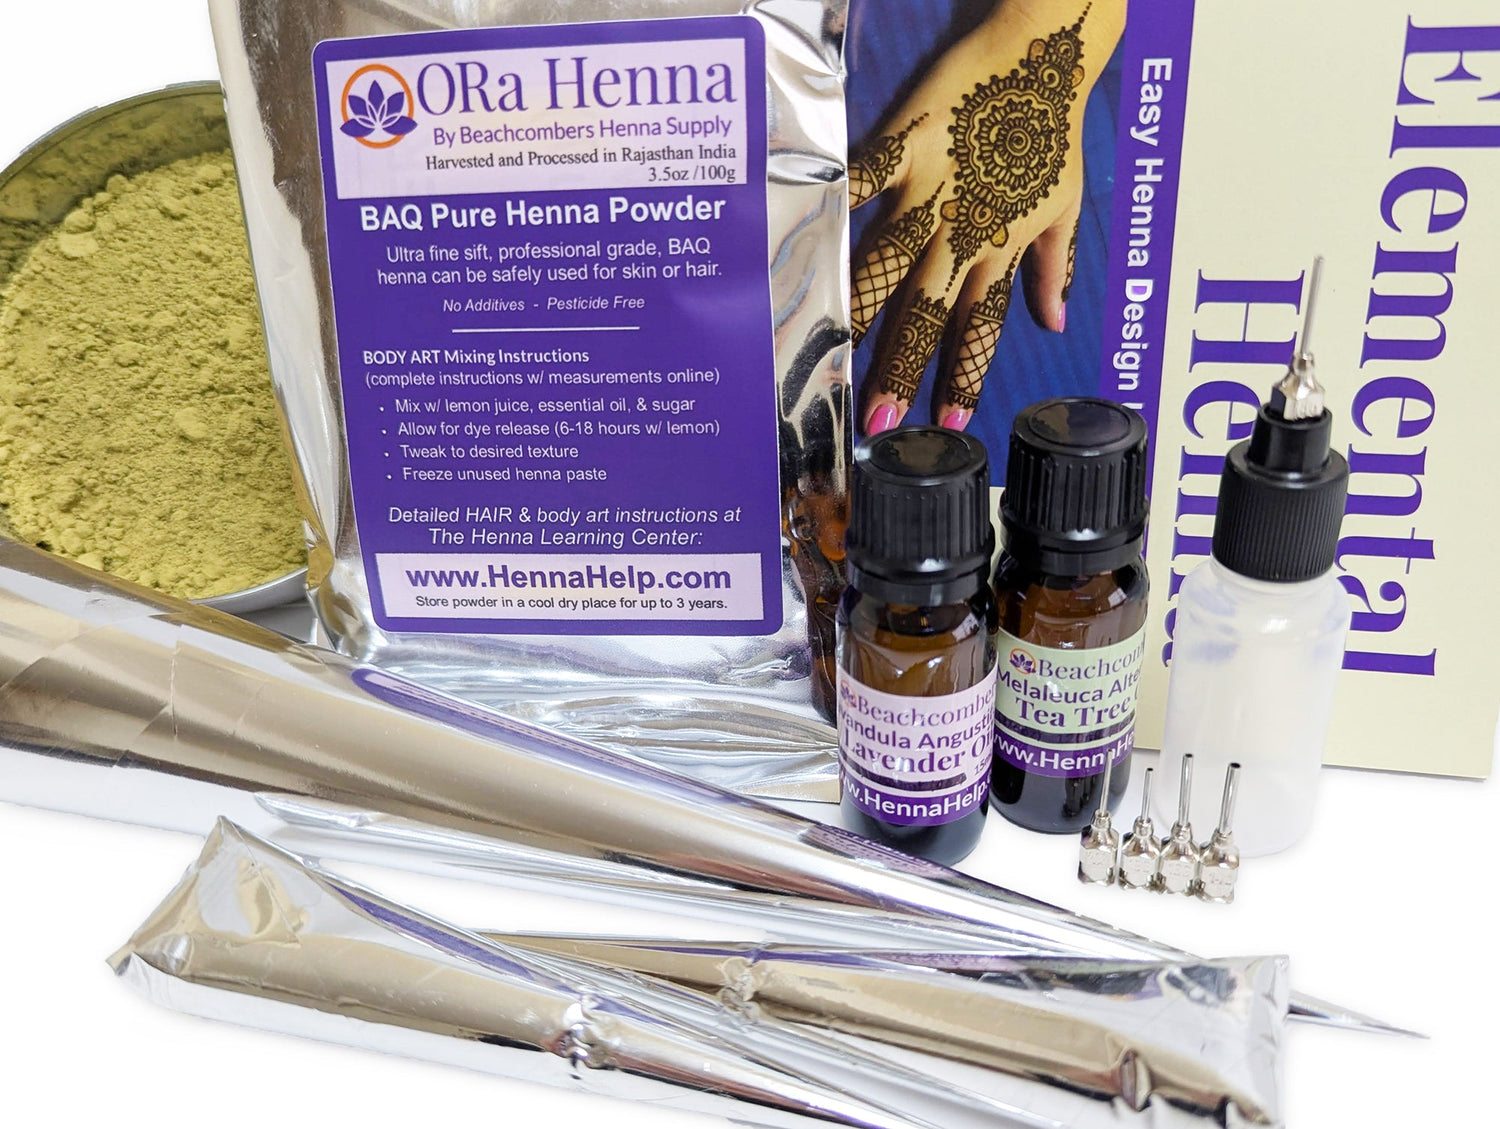
- 2 Tablespoons of quality henna powder (I use ORa henna)
- 2 Tablespoons of Lemon Juice (adjust for consistency after dye release)
The more sugar and oils you add, the less lemon juice needed. - 1 teaspoon Sugar (optional, adjust based on climate)
- Equal Parts Lavender & Tea Tree Oils (1 teaspoon total or 1/2 teaspoon of each)
Instructions:
- Combine henna powder, sugar, lemon juice, and essential oils in a bowl.
- Cover with plastic wrap and set aside for dye release. Depending on the type of henna and temperature:
- ORa Rajasthani: typically 6-24 hours
- Jamila Henna: typically 24-36 hours
- Check for dye release every 4-6 hours by placing a dot on your hand. If it leaves a nice orange stain after 5 minutes, dye release is complete.
- Once dye release is confirmed, adjust the consistency by adding more lemon juice until it resembles thick stirred yogurt or brownie batter. Ideally, the henna should slowly ribbon off your spoon and form peaks that slowly melt or slump but don't flatten completely. See the short video below for a visual of the texture.
- Optional: Strain the henna for a smoother texture. Instructions and a video can be found on our Henna DIY page.
- Transfer the henna into individual cones and freeze until ready to use.
Enjoy your henna adventure, my friends!