Build Your Own Henna Kit: What You Really Need
Whether you're a beginner or ready to upgrade, here's how to build a henna kit that works for you.
There’s something empowering about creating your own henna setup—just the tools you love, no fluff, no filler. But with so many options out there, it’s easy to overbuy, underbuy, or get overwhelmed.
Let’s simplify it. Whether you're just starting or refining your setup, here’s a breakdown of what you actually need—and how to customize from there.
🌿 The Basics: Henna Kit Essentials for Applying Henna
Every artist, beginner or pro, should have these in their kit when applying henna to others:
- Fresh henna paste – Self mixed or from a reputable supplier.
- A way to keep the paste cold – A cooler with ice packs, a Yeti with reusable ice, whatever works for you!
- Extra application tools – Empty pre-rolled cones or applicator bottles. You never know when you'll encounter a wonky cone! JIC, always have a backup that you can squeeze henna into.
- Tape – Not only can this be used to keep your henna cone tight, it can keep bracelets from sliding into henna, or to tape signs to your booth/table.
- Small scissors or clippers – We need a way to open those cones! I prefer clippers to scissors, but you do you!
- Manicure sticks – I find these the very best way to remove mistakes (even better than toothpicks.
- Paper towels – I cut mine into very tiny pieces (about the size of a business card). I find that if you use large pieces, you can create a mess. Little pieces can be used and tossed quickly. I also generally keep one piece in my hand as I work.
-
 Aftercare instructions – I have these on the back of my business card, but I have freebies that you can print here.
 - Alcohol wipes – Anything to clean the skin with. If someone has fresh lotion on, it will impede their henna stain.
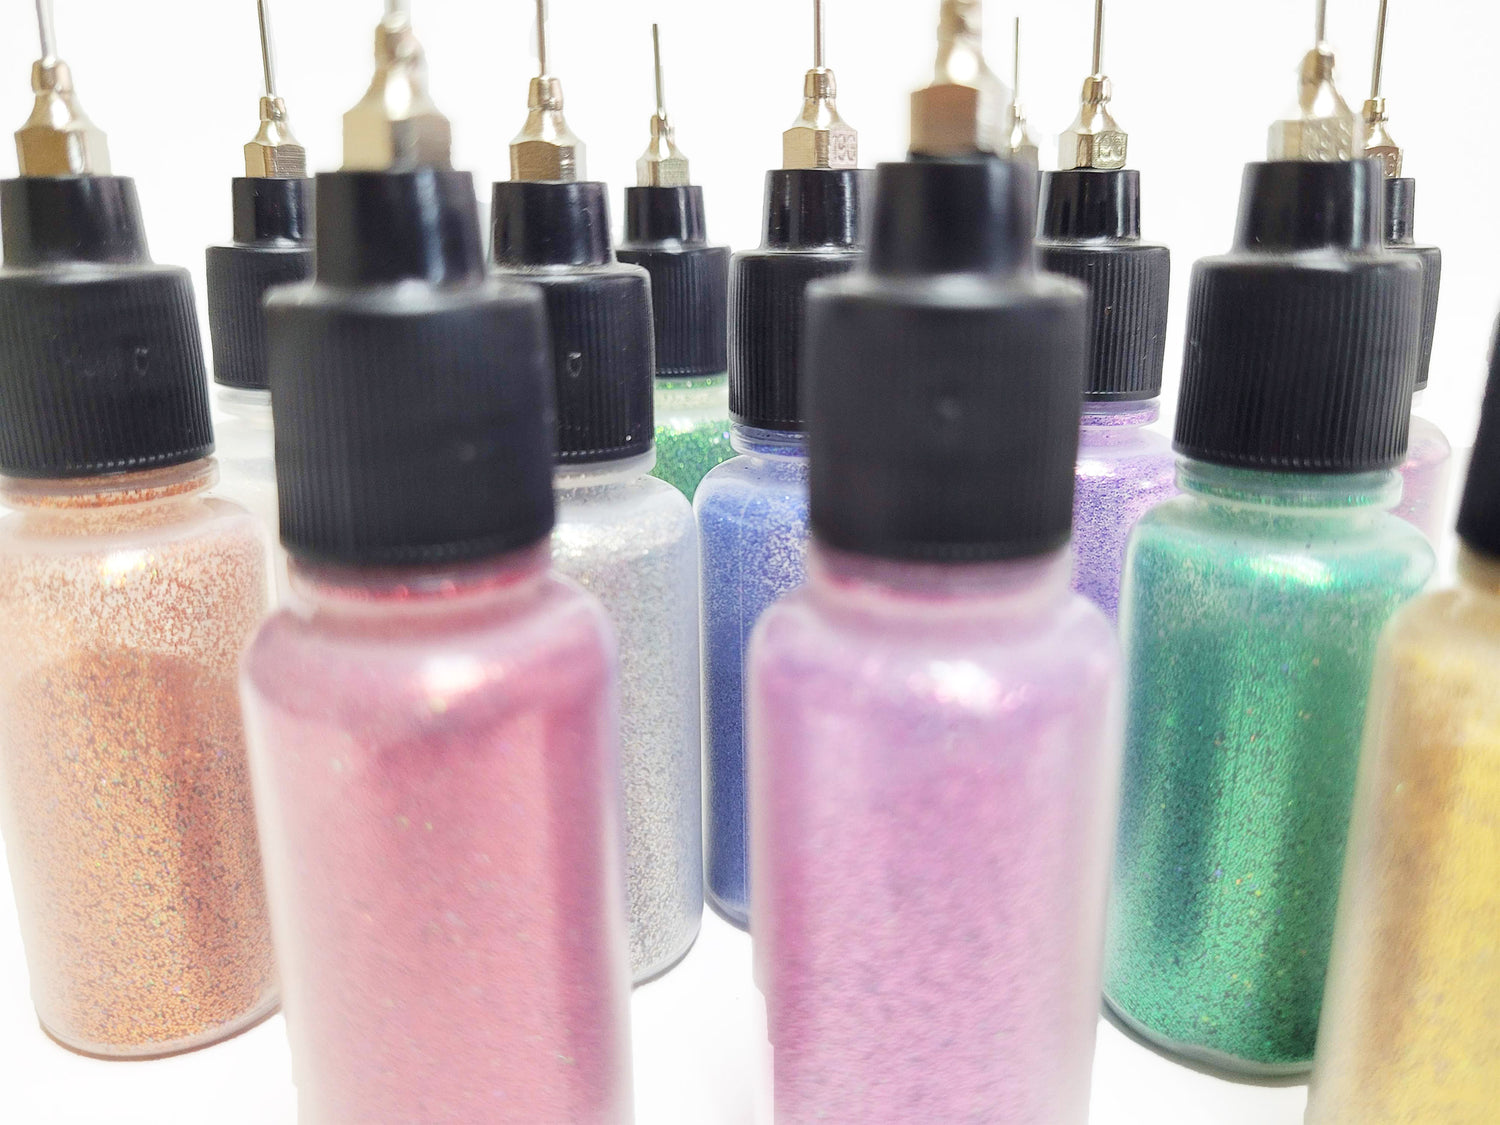
- Glitter! – I nearly put this in the optional section, but it's really one of the most important parts of my to-go kit. I keep the Rainbow Glitter box in my kit and add the Star Stuff glitter and Pink Magic glitter.
- Backdrop for pictures – A tablecloth or just a piece of pretty fabric for the hand to lay on. This also helps contain the glitter you use.
- Headlamp or wireless light – You'd be shocked how often you need more light!
- Henna designs – Unless you are doing entirely artist's choice, you'll need a selection of designs. I like to use laminated design sheets. I have over 200 FREE henna designs that you can use, plus you can support me by purchasing some of my henna design eBooks.
🌿 Mixing Henna Kit
It's easiest to mix henna when you have everything in one place. Get a box and keep it all together (except anything that need to be frozen or refrigerated)!
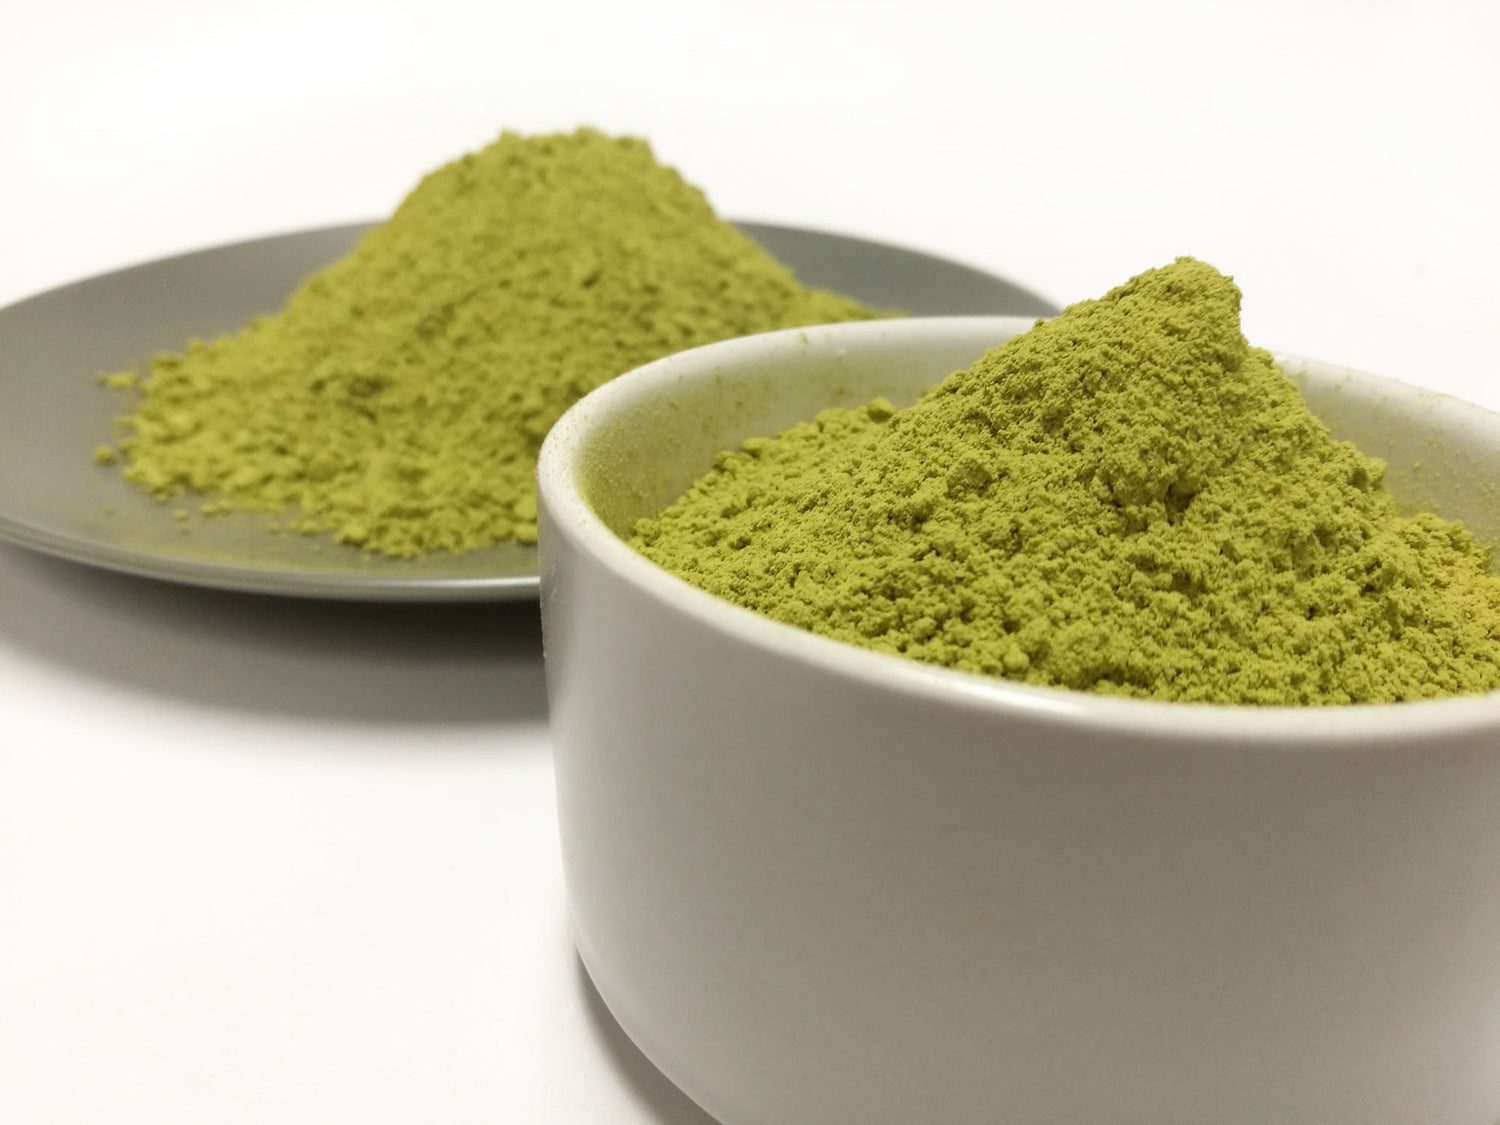
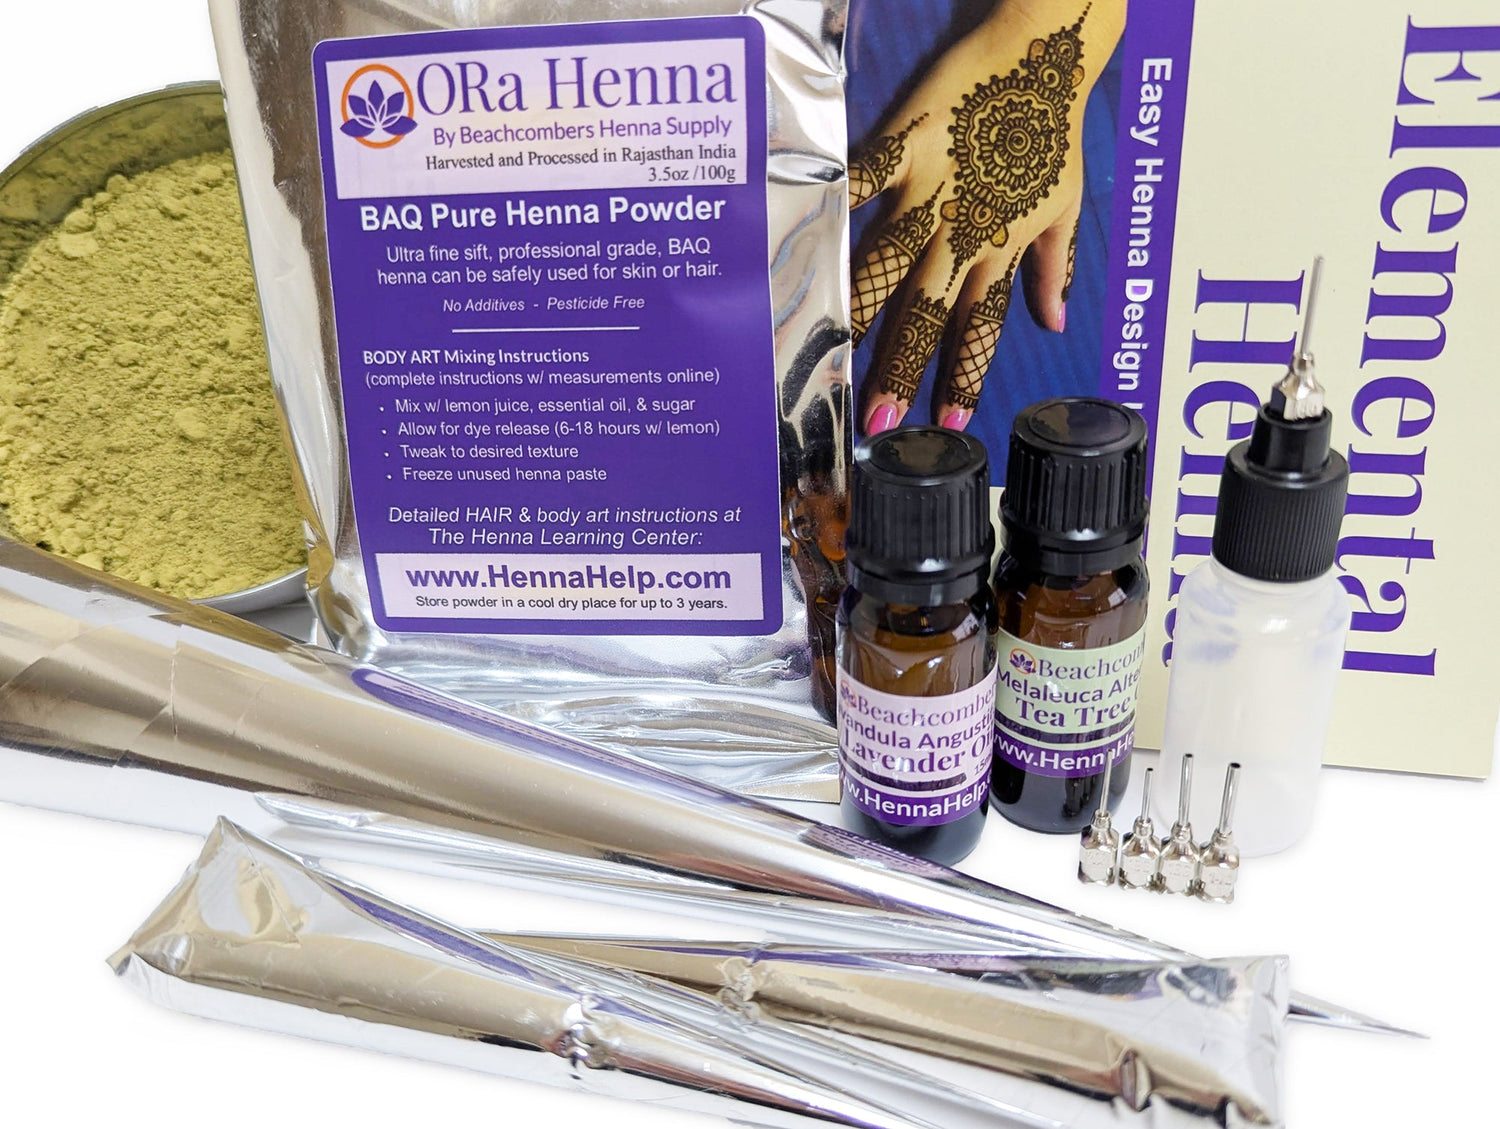
- Henna powder – I use ORa henna powder. Unopened powder or tightly sealed powder can be stored in a cool dry place.
- Essential oils – I use tea tree and lavender. If you will be storing these longer than a couple of months, store them in the fridge in dark bottles. Be sure you purchase oils from someone sourcing them for mono-terpinol alcohols, not for scent.
- Lemon juice and sugar – These can stay in the kitchen. I use the Kirkland brand bottled lemon juice from Costco and standard table sugar.
- Measuring spoons – I suggest having a dedicated set of these for your henna kit.
- Straining kit – Staining henna is easy and gives you super-smooth henna. You just need a carrot bag, nylons, and a spatula.
- (Optional) Dedicated mixing bowl – I mix henna using my Kitchen Aid mixer, so I don't keep a dedicated mixing bowl. If you mix by hand you may want to consider this.
- Carrot bags – You need something that will easily fill your cones or bottles and carrot bags are ideal for this.
- Empty henna cones and/or applicator bottles – I roll my cones from small cello triangles, and I roll them in advance. I usually roll them in groups of 100. Whenever I mix henna, I already have rolled cones!
- Tape – You'll need tape to close your henna cones.
- Paper, pen, and plastic baggies – I label every batch of henna with a small piece of paper that has the date, the mix, and anything else important about the mix.
Optional extras
- Sugar sealer – I mix my own paste, so I control the sugar in the paste, which helps the henna stick better. This means I rarely use sealer, but you never know when you will have an extra dry day, crazy air conditioning, or simply a person that has "thirsty" skin. Instructions to mix your own are on our DIY page.
- Medical tape – Great for long-term or overnight wear. This is something I generally only use for bridal work or work that costs over $200. Most artists that offer this, charge extra. It's pretty labor intensive, especially for large areas.
💡 Pro Tip: Start Simple, Add As You Go
If you’re just getting started, don’t feel like you need everything at once. Build slowly. Try different tools. See what feels right to you. A well-loved, simple kit outperforms a cluttered one.
🧡 Not Sure Where to Start?
Try our Big Bad Henna Kit or Professional Henna Kit for mixing henna—both include thoughtfully chosen items to get you going, plus a how-to Book and tips you’ll actually use.
The best henna kit is the one that supports your style.
Whether you’re keeping it minimal or going all-out with glitter, you deserve tools that feel just right in your hands.
Have fun building your henna kit!
Jody